For many Mythic Legions fans, customizing their figures with new parts, paint applications, and accessories has become an important part of their enjoyment of the line. For many other Mythic fans, however, the idea of trying to custom paint figures or 3D-printed parts is a cause for anxiety and apprehension. The reality is that while custom paints and parts can give you an almost limitless amount of options to create new kinds of characters for your Legions collection, you can also make some really amazing creations simply by swapping parts from existing Mythic Legions figures.
In this “Customizing Corner” article, we will give some tips on how anyone can enjoy creating custom Mythic characters with minimal effort (ie: no custom painting involved). We will also look at a gallery of “kitbash-style” customs using only Mythic parts swapped as-is to hopefully inspire some of your own ideas!
Popping and Swapping
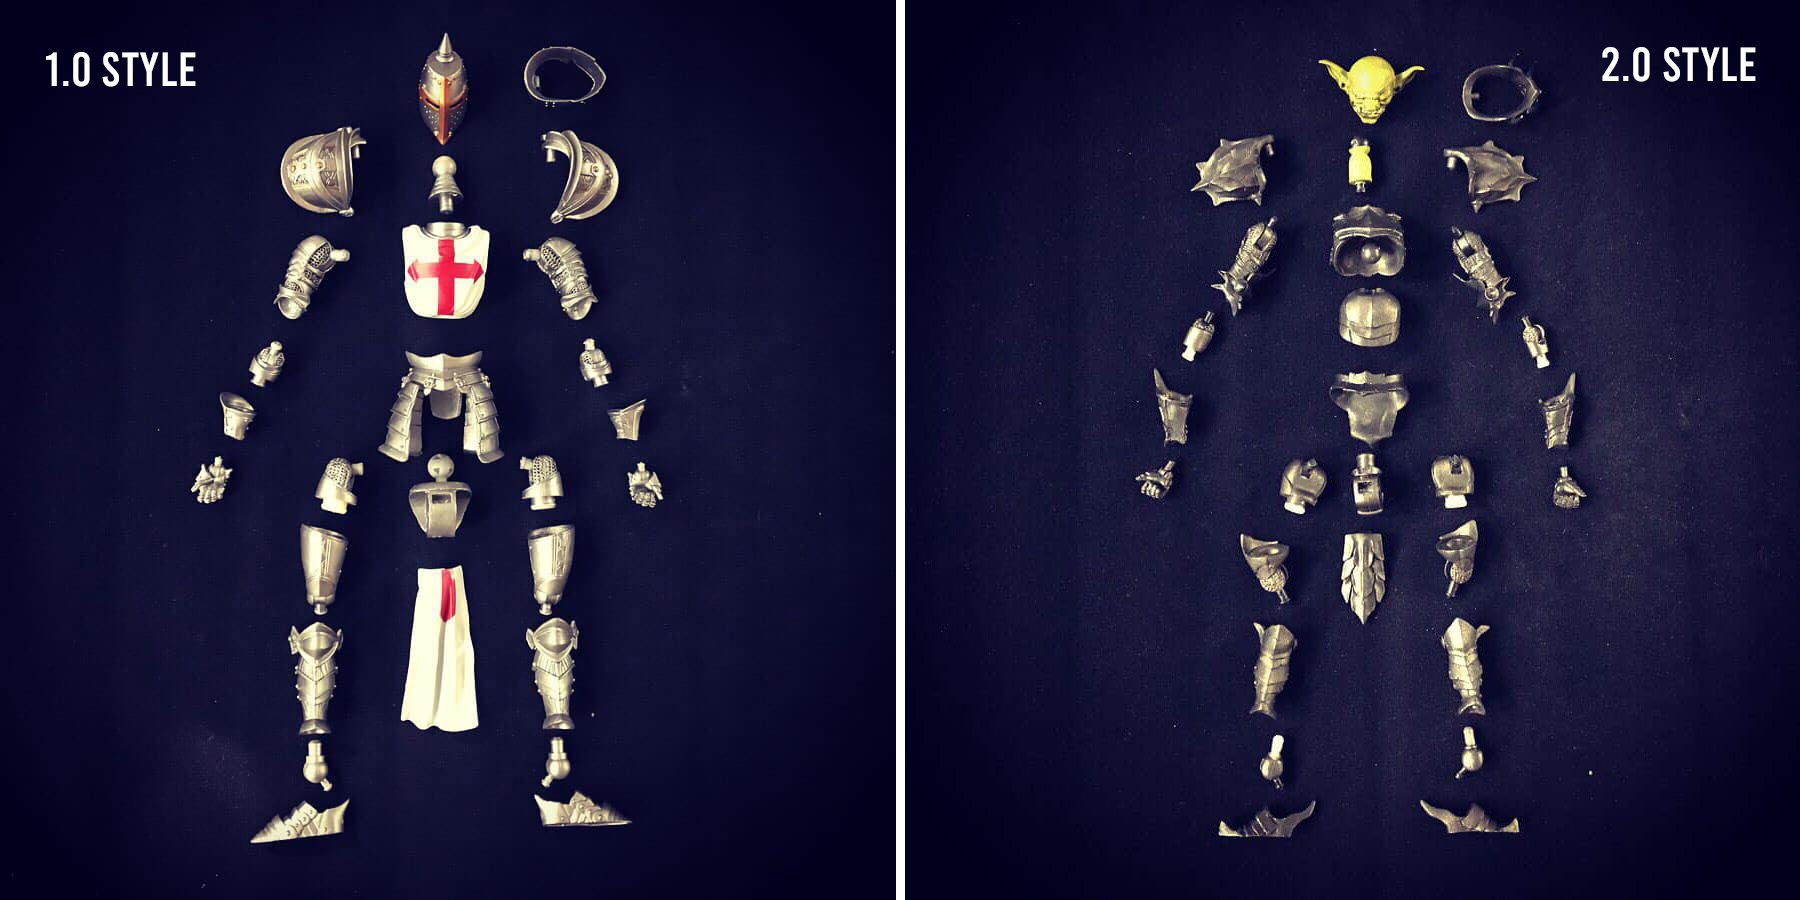
The first thing you should understand is exactly how these Mythic Legions figures can be popped apart. By design, these figures are made to have their component parts separated and swapped. The easiest example of this is changing out heads. Many of the figures come with multiple heads, and you can pop one off to use the alternate look instead. Well, you can also easily do this with heads from other figures – but it does not need to stop there! With a little heat (either hot water or hot air) and determination, you can remove nearly every other piece of these toys and swap them as well! We have another article about exactly how to “pop and swap” these parts that you can check out for more details on how to do this.
The photo below shows the component pieces of a 1.0 style figure (the Templar) and a 2.0 body (the goblin). It is worth noting that, for the most part, you will want to swap 1.0 parts with other 1.0 figures, and the same for 2.0 with others from that style.
Building an Undead Templar
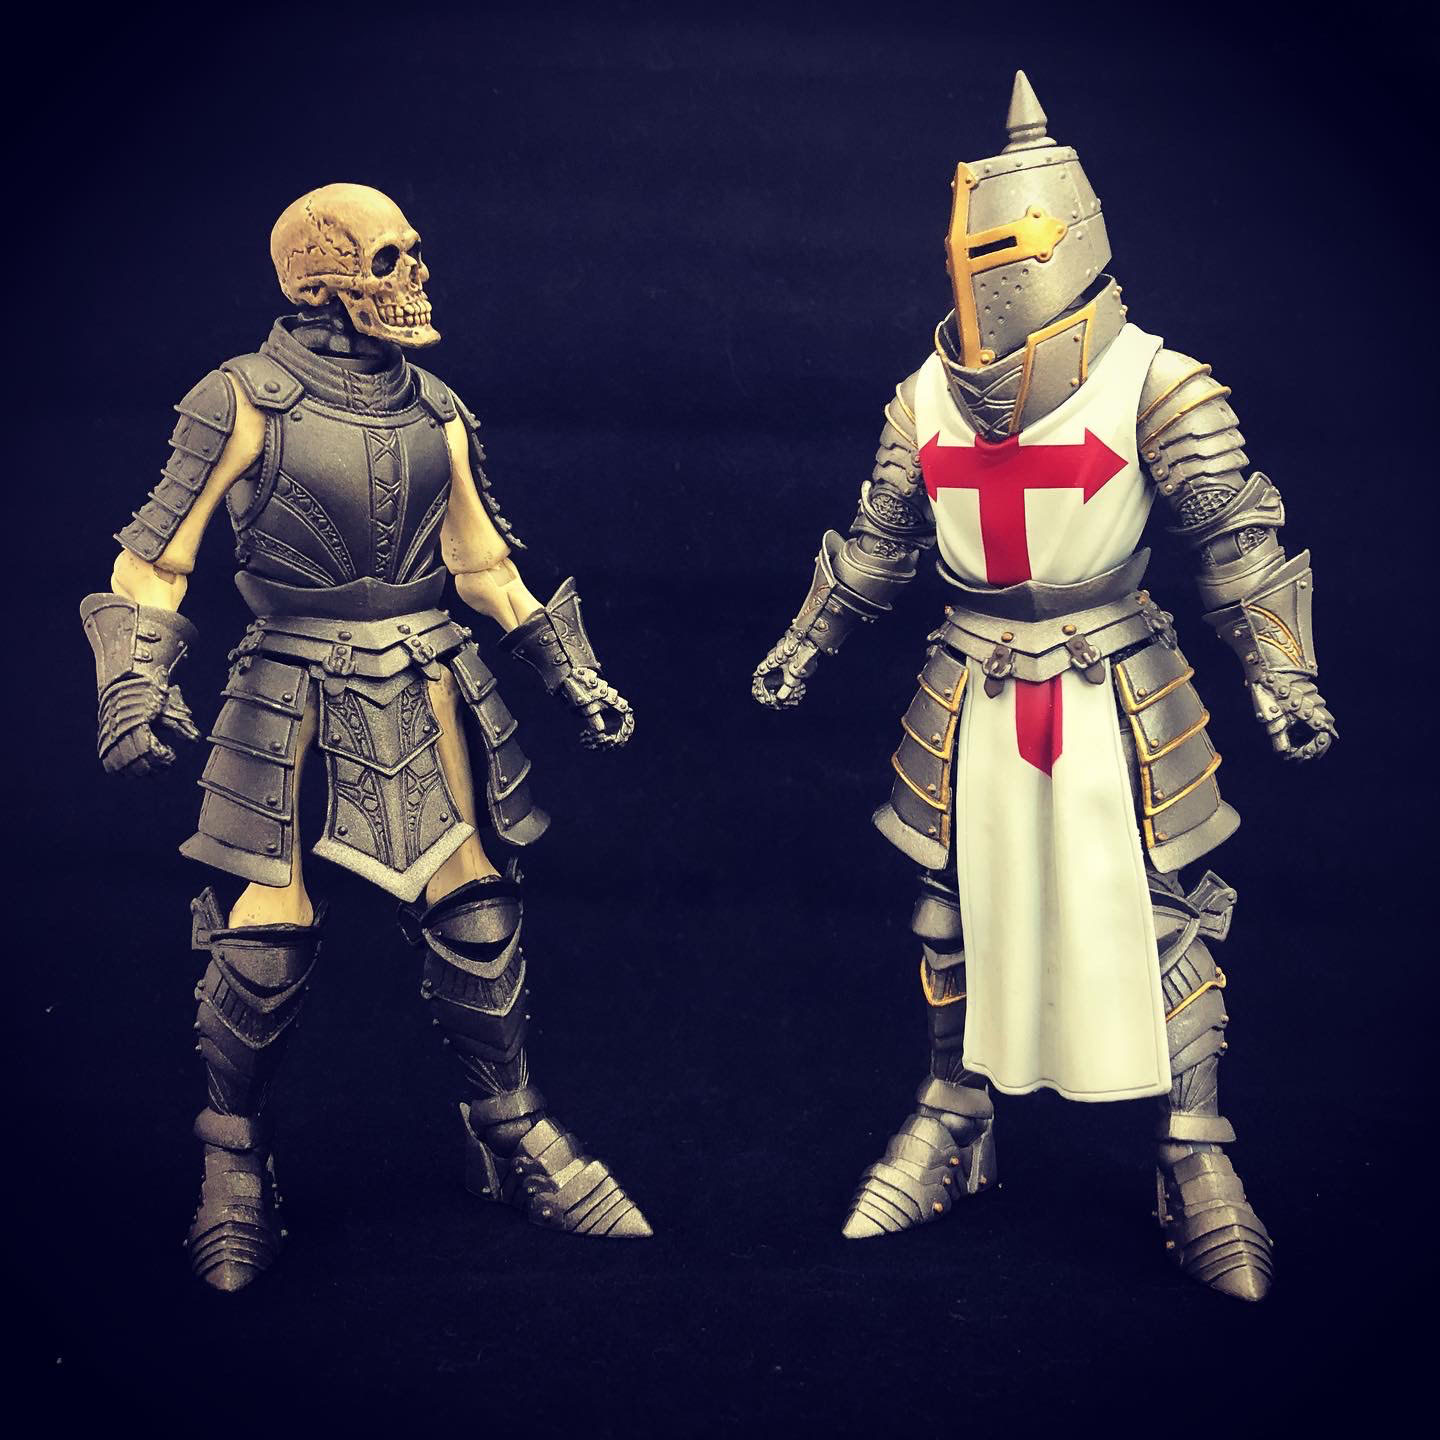
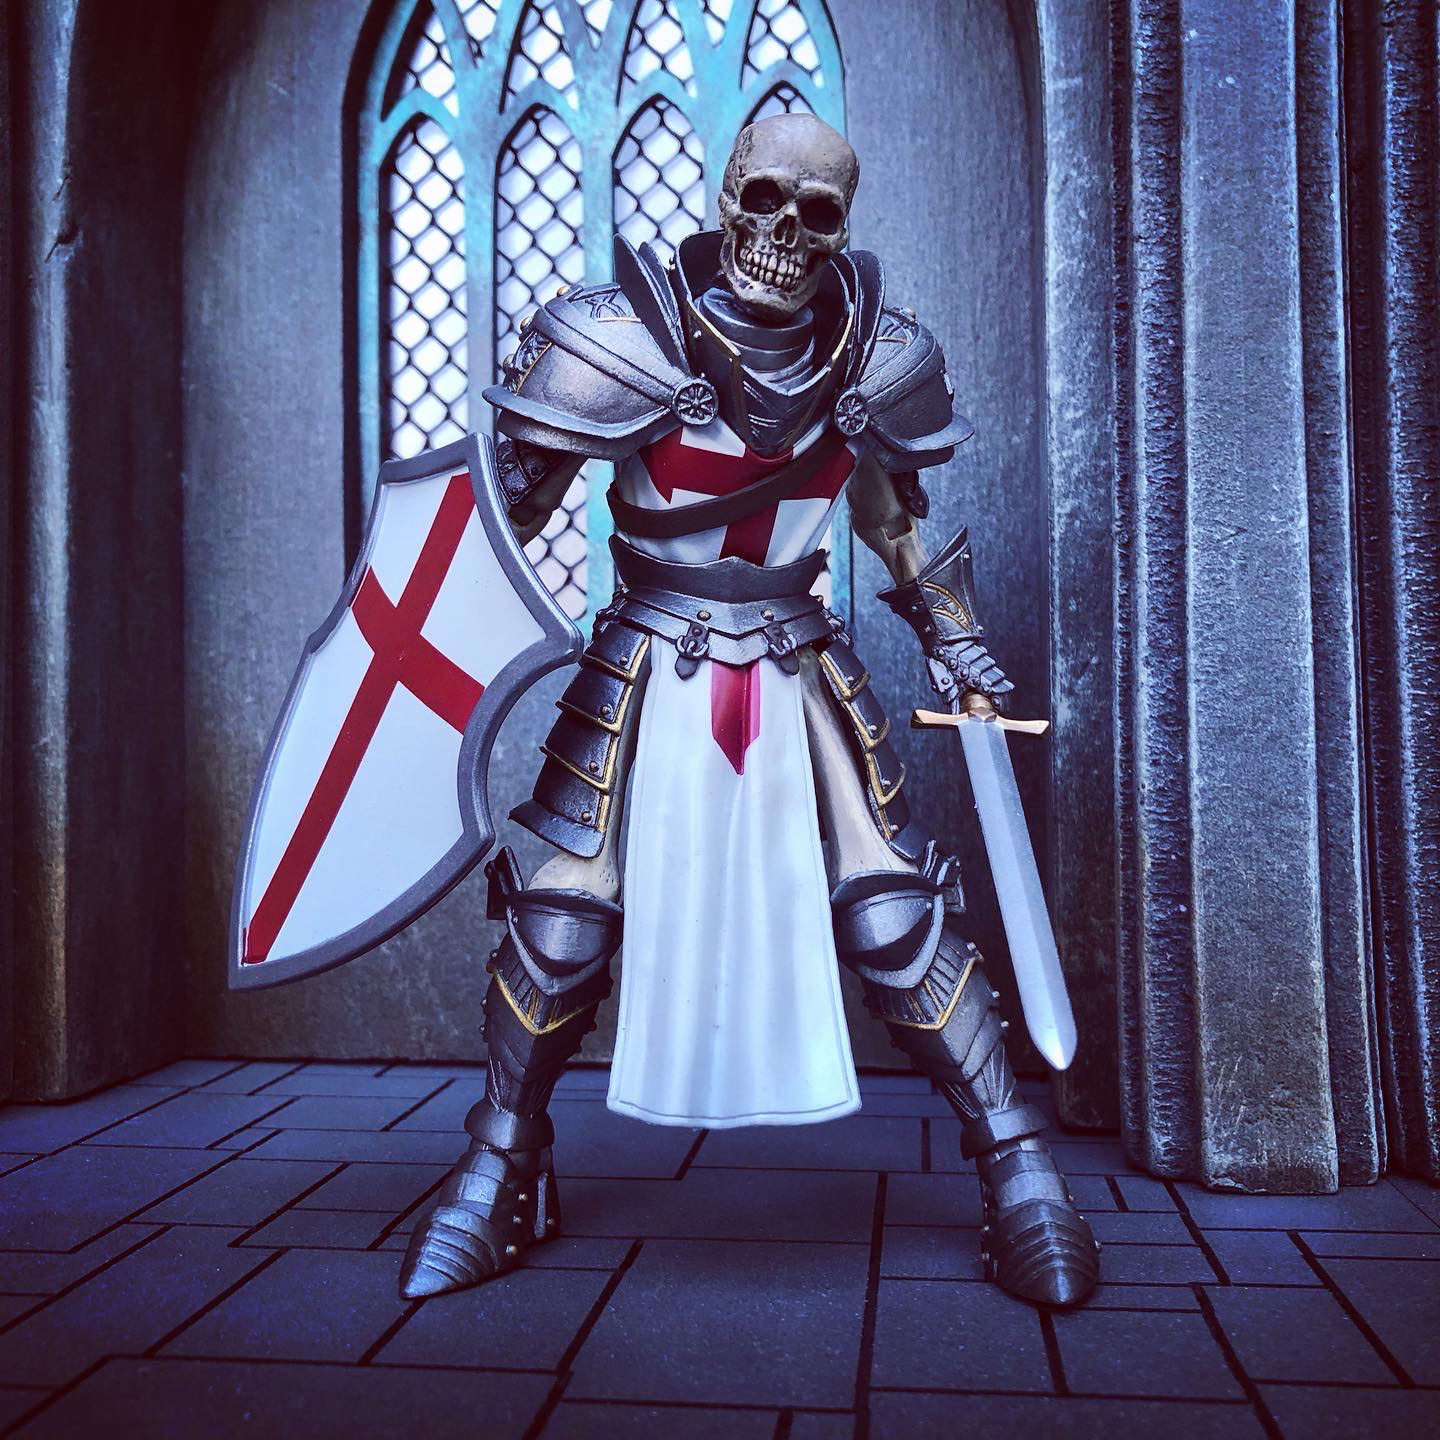
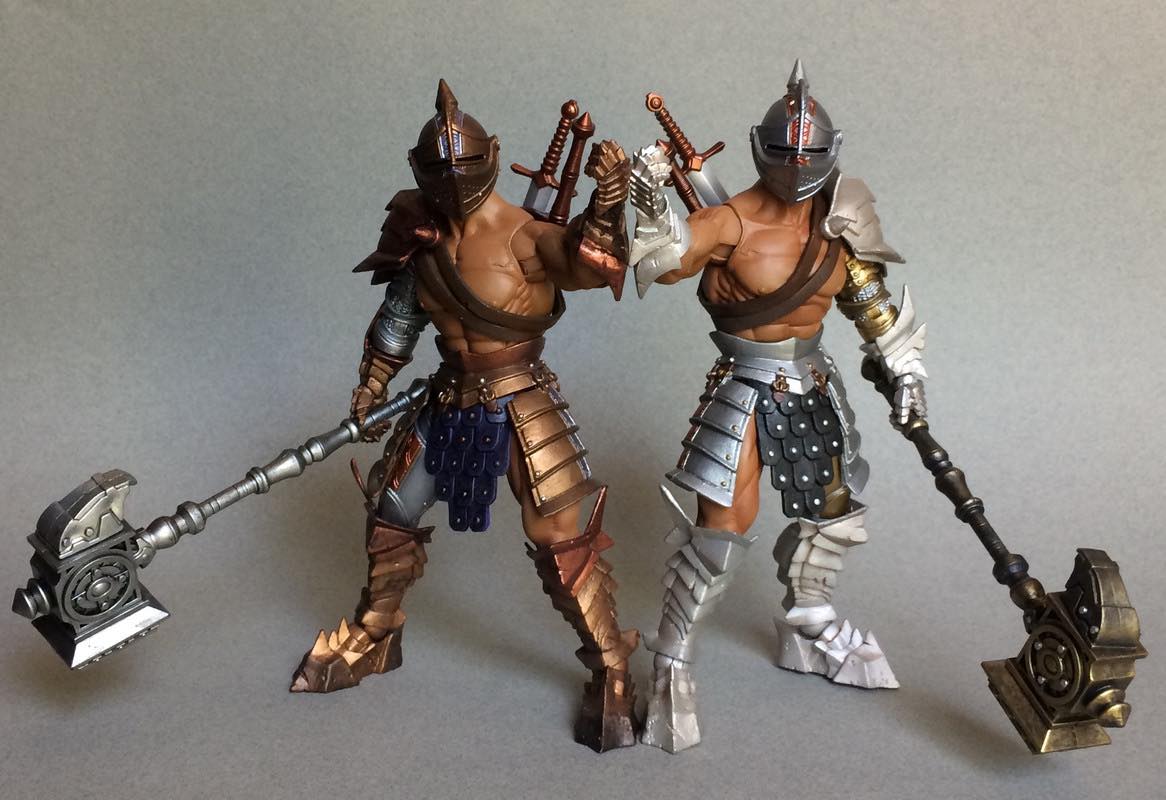
Let’s look at an easy example of a pop and swap custom you can do using only 2 Mythic Legions figures and no additional paint applications or outside parts – a skeleton Templar!
For this build we will be using a Templar Knight Legion Builder and a Skeleton Legion Builder.
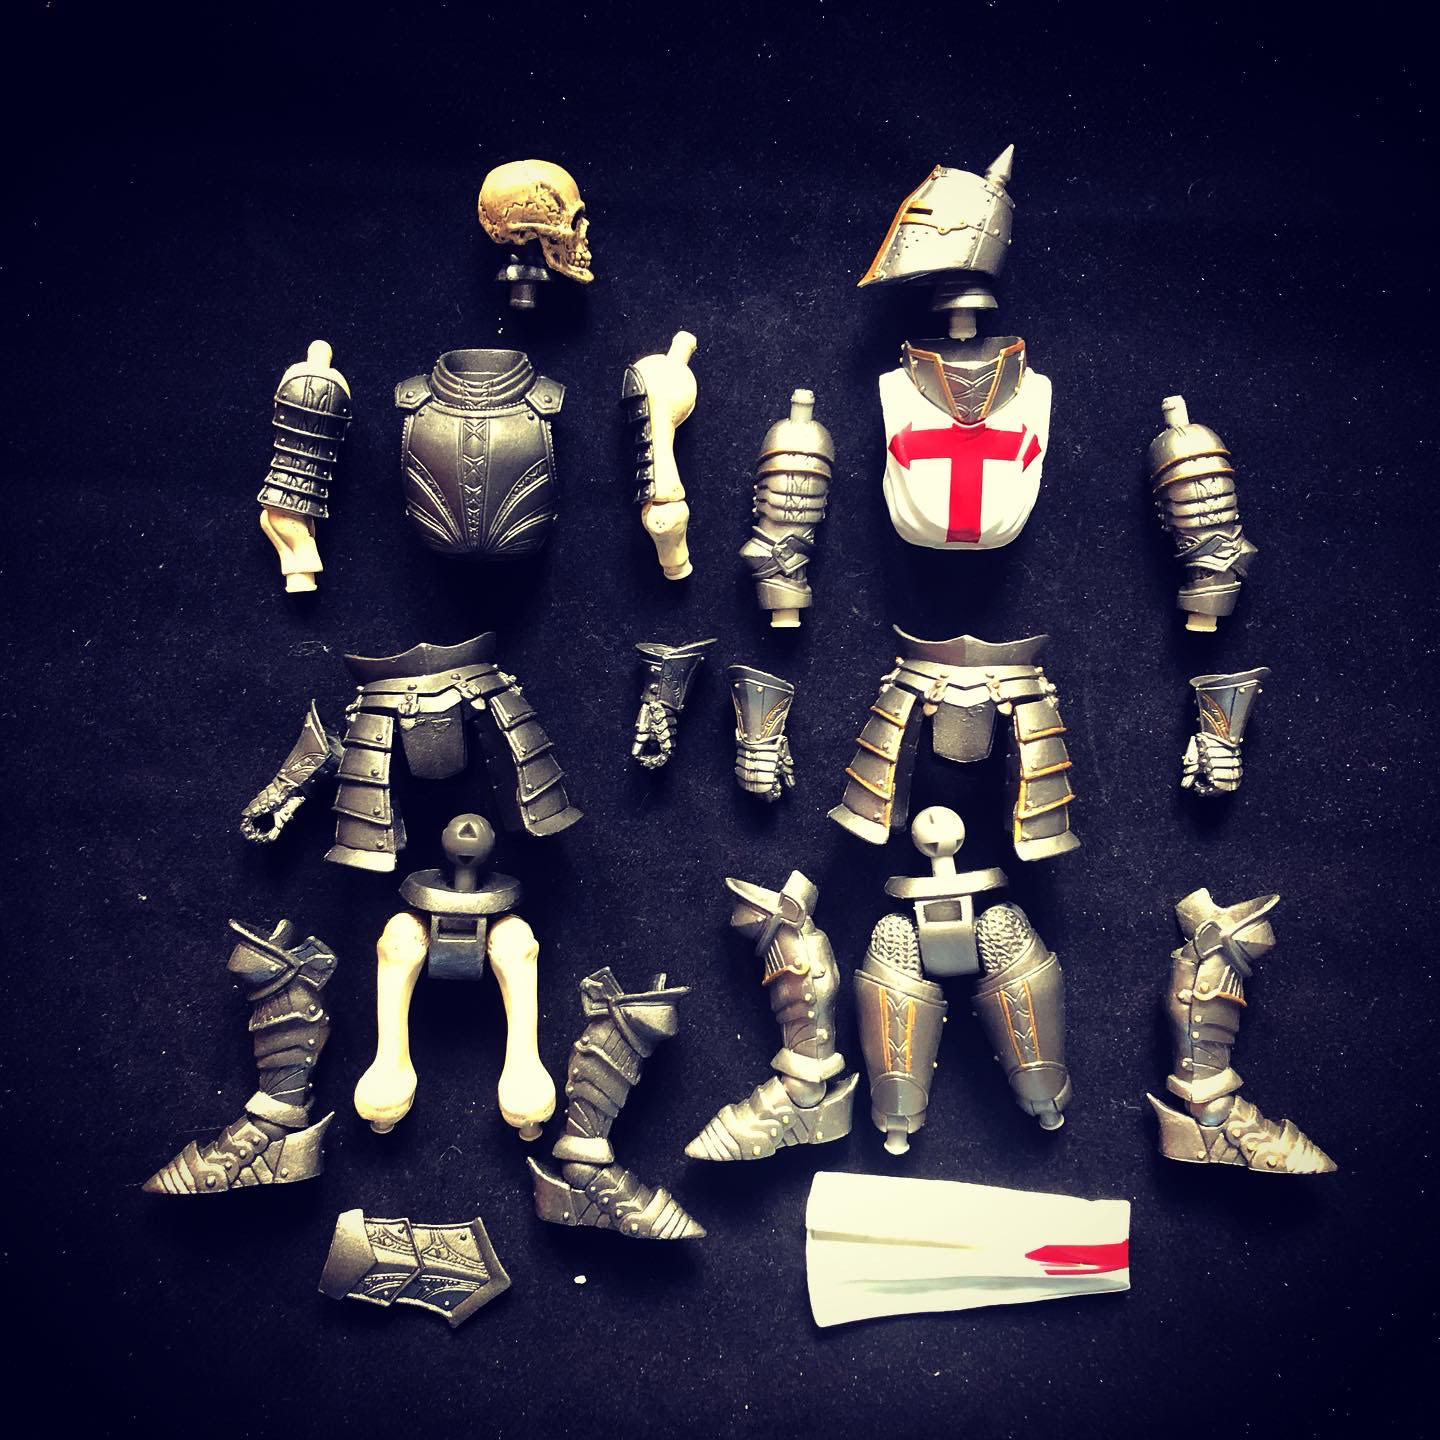
Step 1 – the goal here is to use the skeleton parts, including the upper arms and elbow, upper legs, head, and neck, with the torso from the Templar as well as that figure's gauntlets, waist armor, and lower legs/feet. Our first step will be using some heat to separate the parts as needed. A little heat from some hot water or hot air from a hair dryer will soft these parts enough so they can be separated. Just be careful not to burn yourself with hot water or apply too much hot air to the parts. A little goes a long way!
Step 2 – once the parts are removed, you will begin your swaps. Some of the parts will be very easy to swap, like the head and neck. Others will take a little more effort, like the gauntlets and lower legs. Be patient and if you find a part hard to reconnect, go back and use a little heat to soften the insertion hole where you will peg the other part into. Softening the plastic with heat should make these much easier to combine.
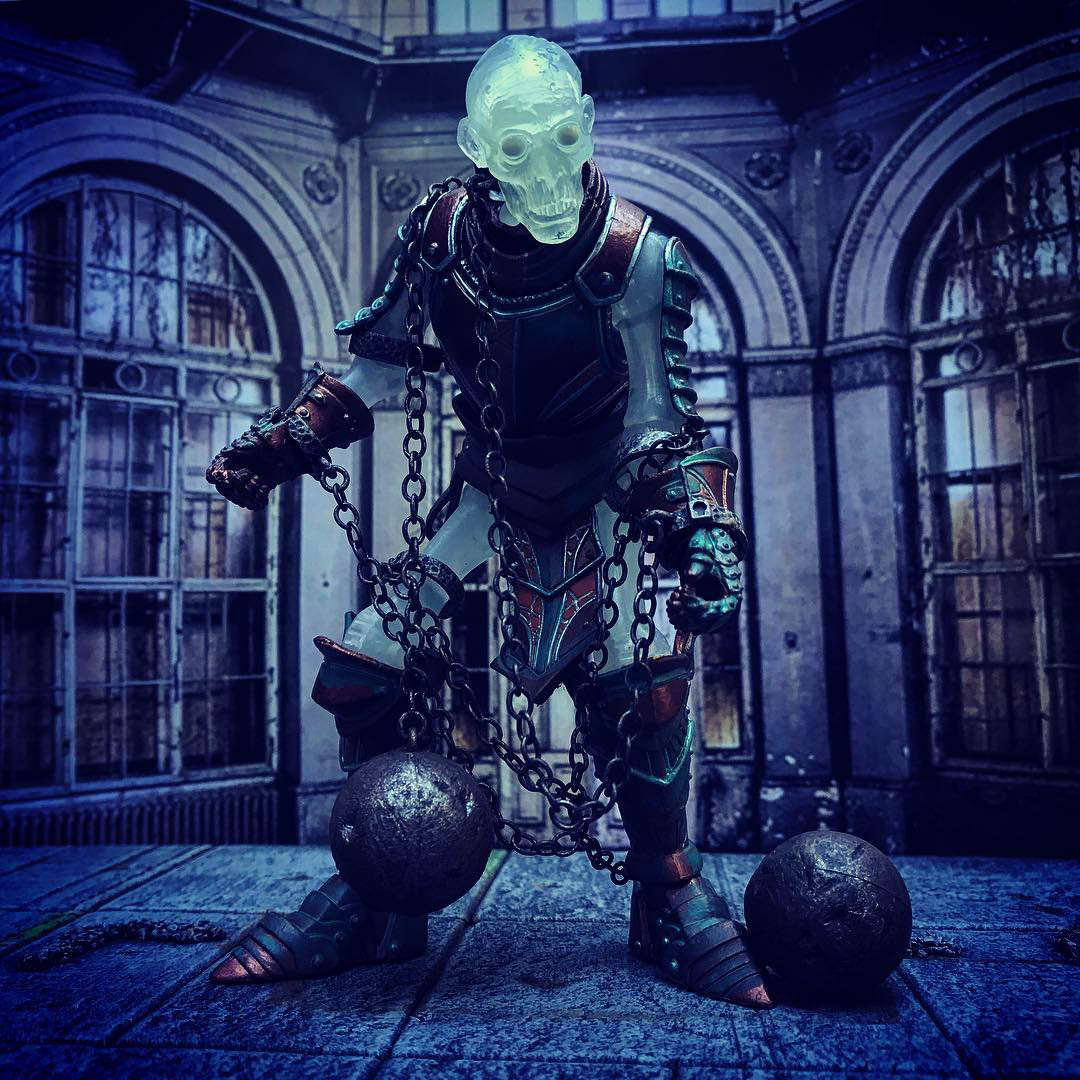
Step 3 – With your figure reassembled, add your desired accessories and you will have your skeleton Templar! You will also have the parts to make a cool bonus knight figure by using the leftover parts from these two figures!
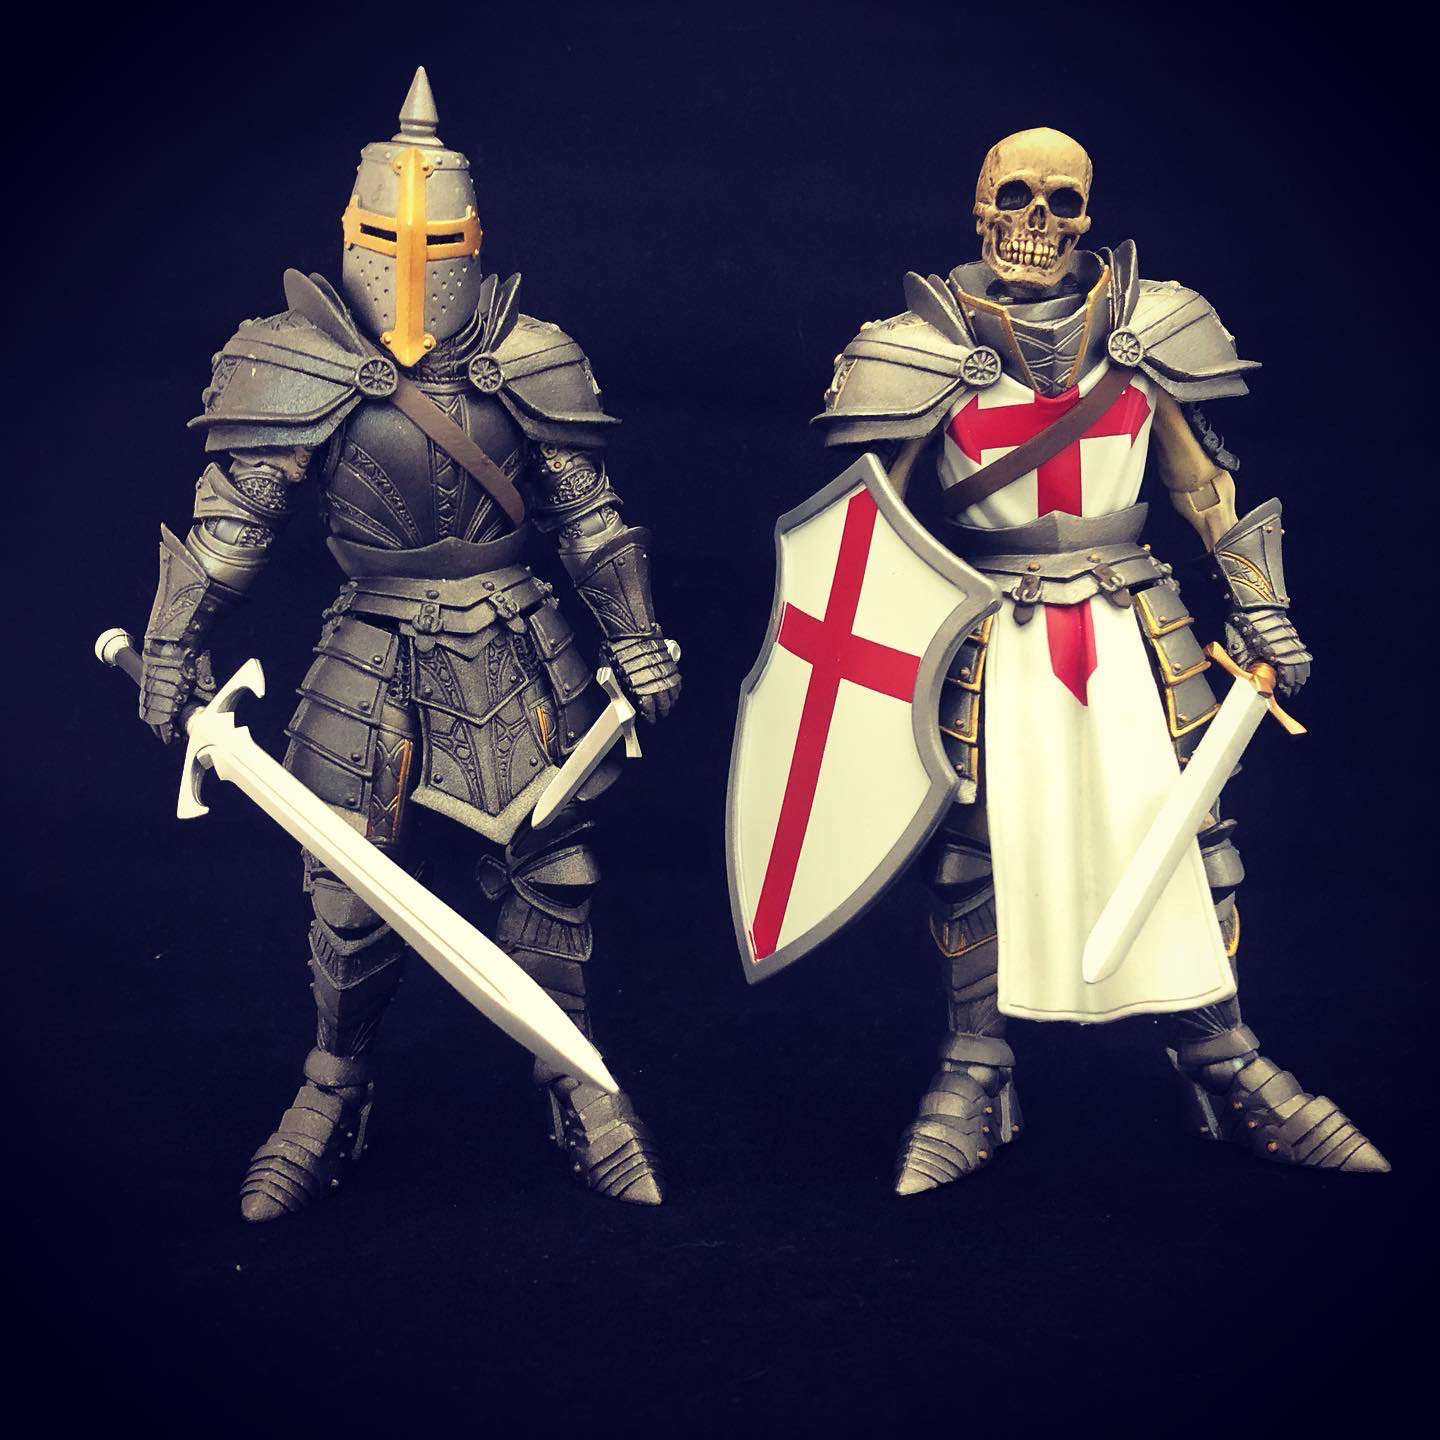
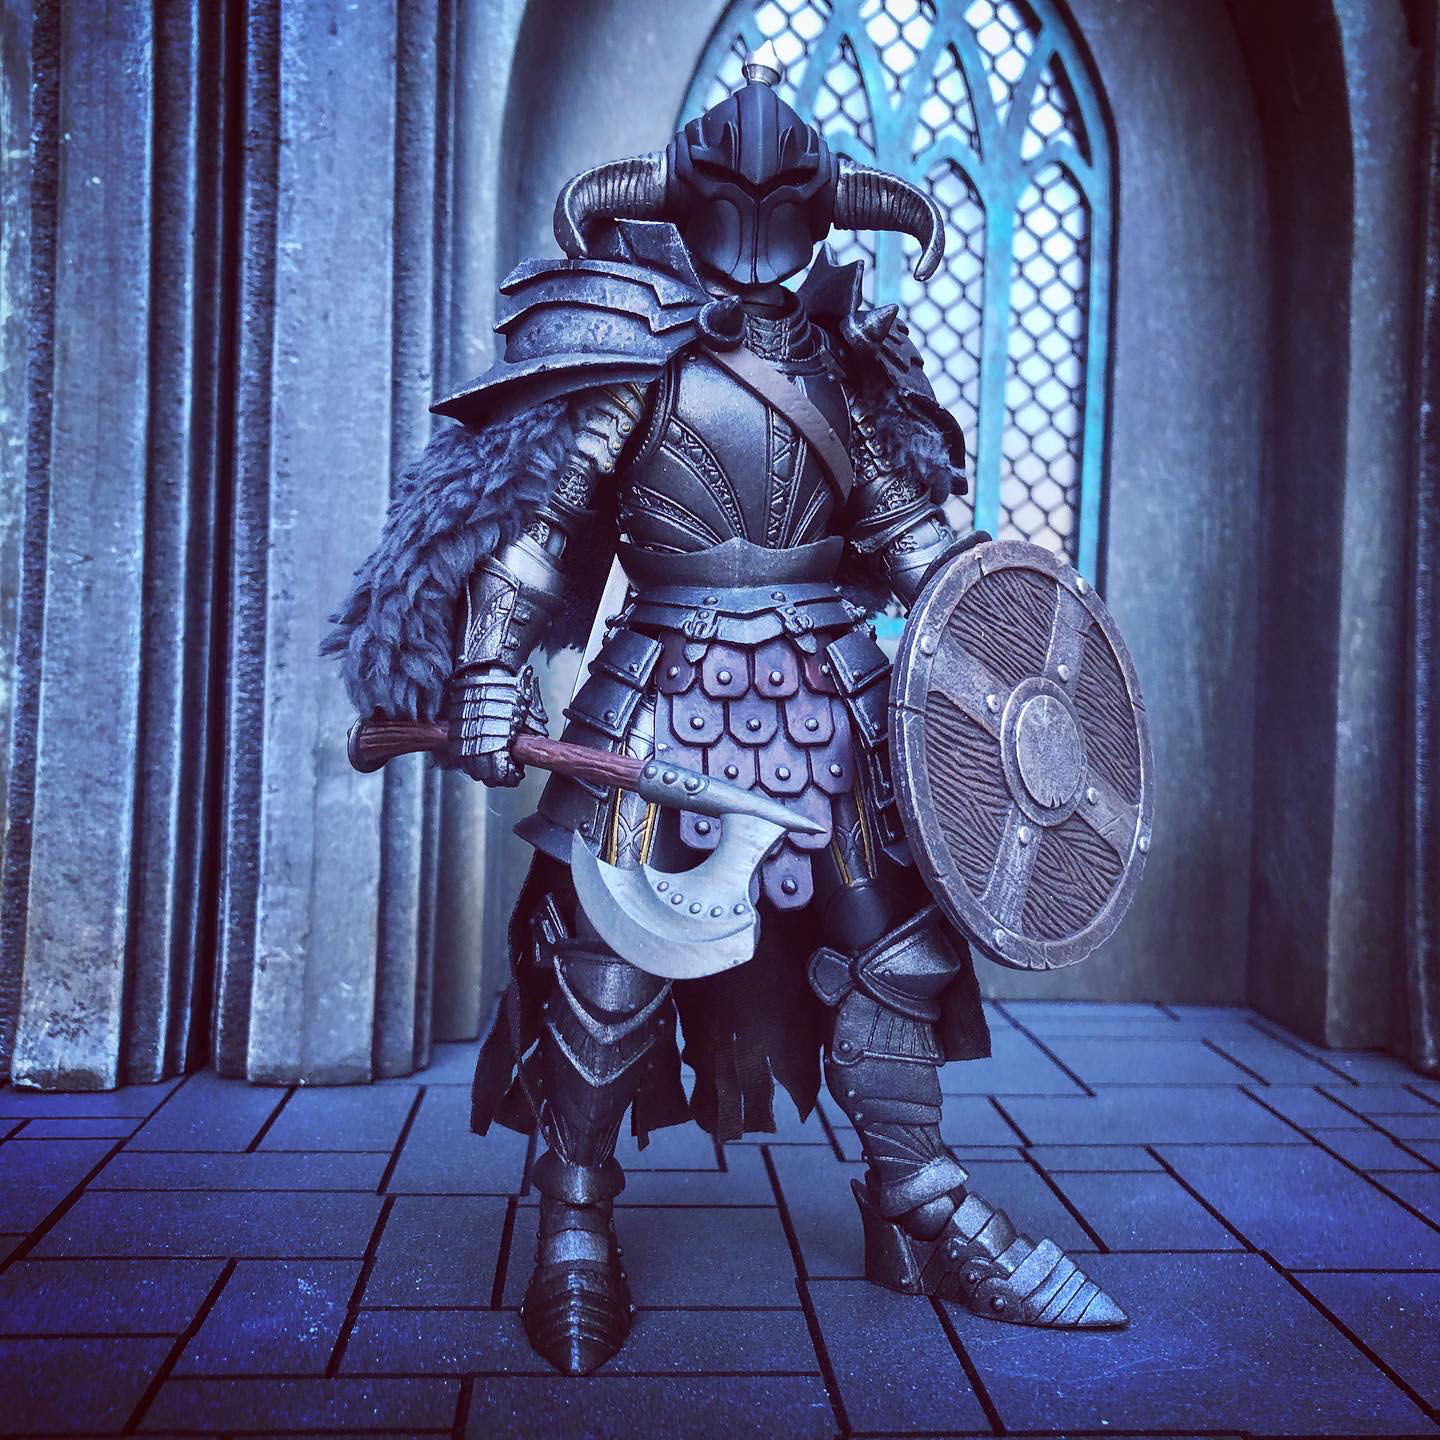
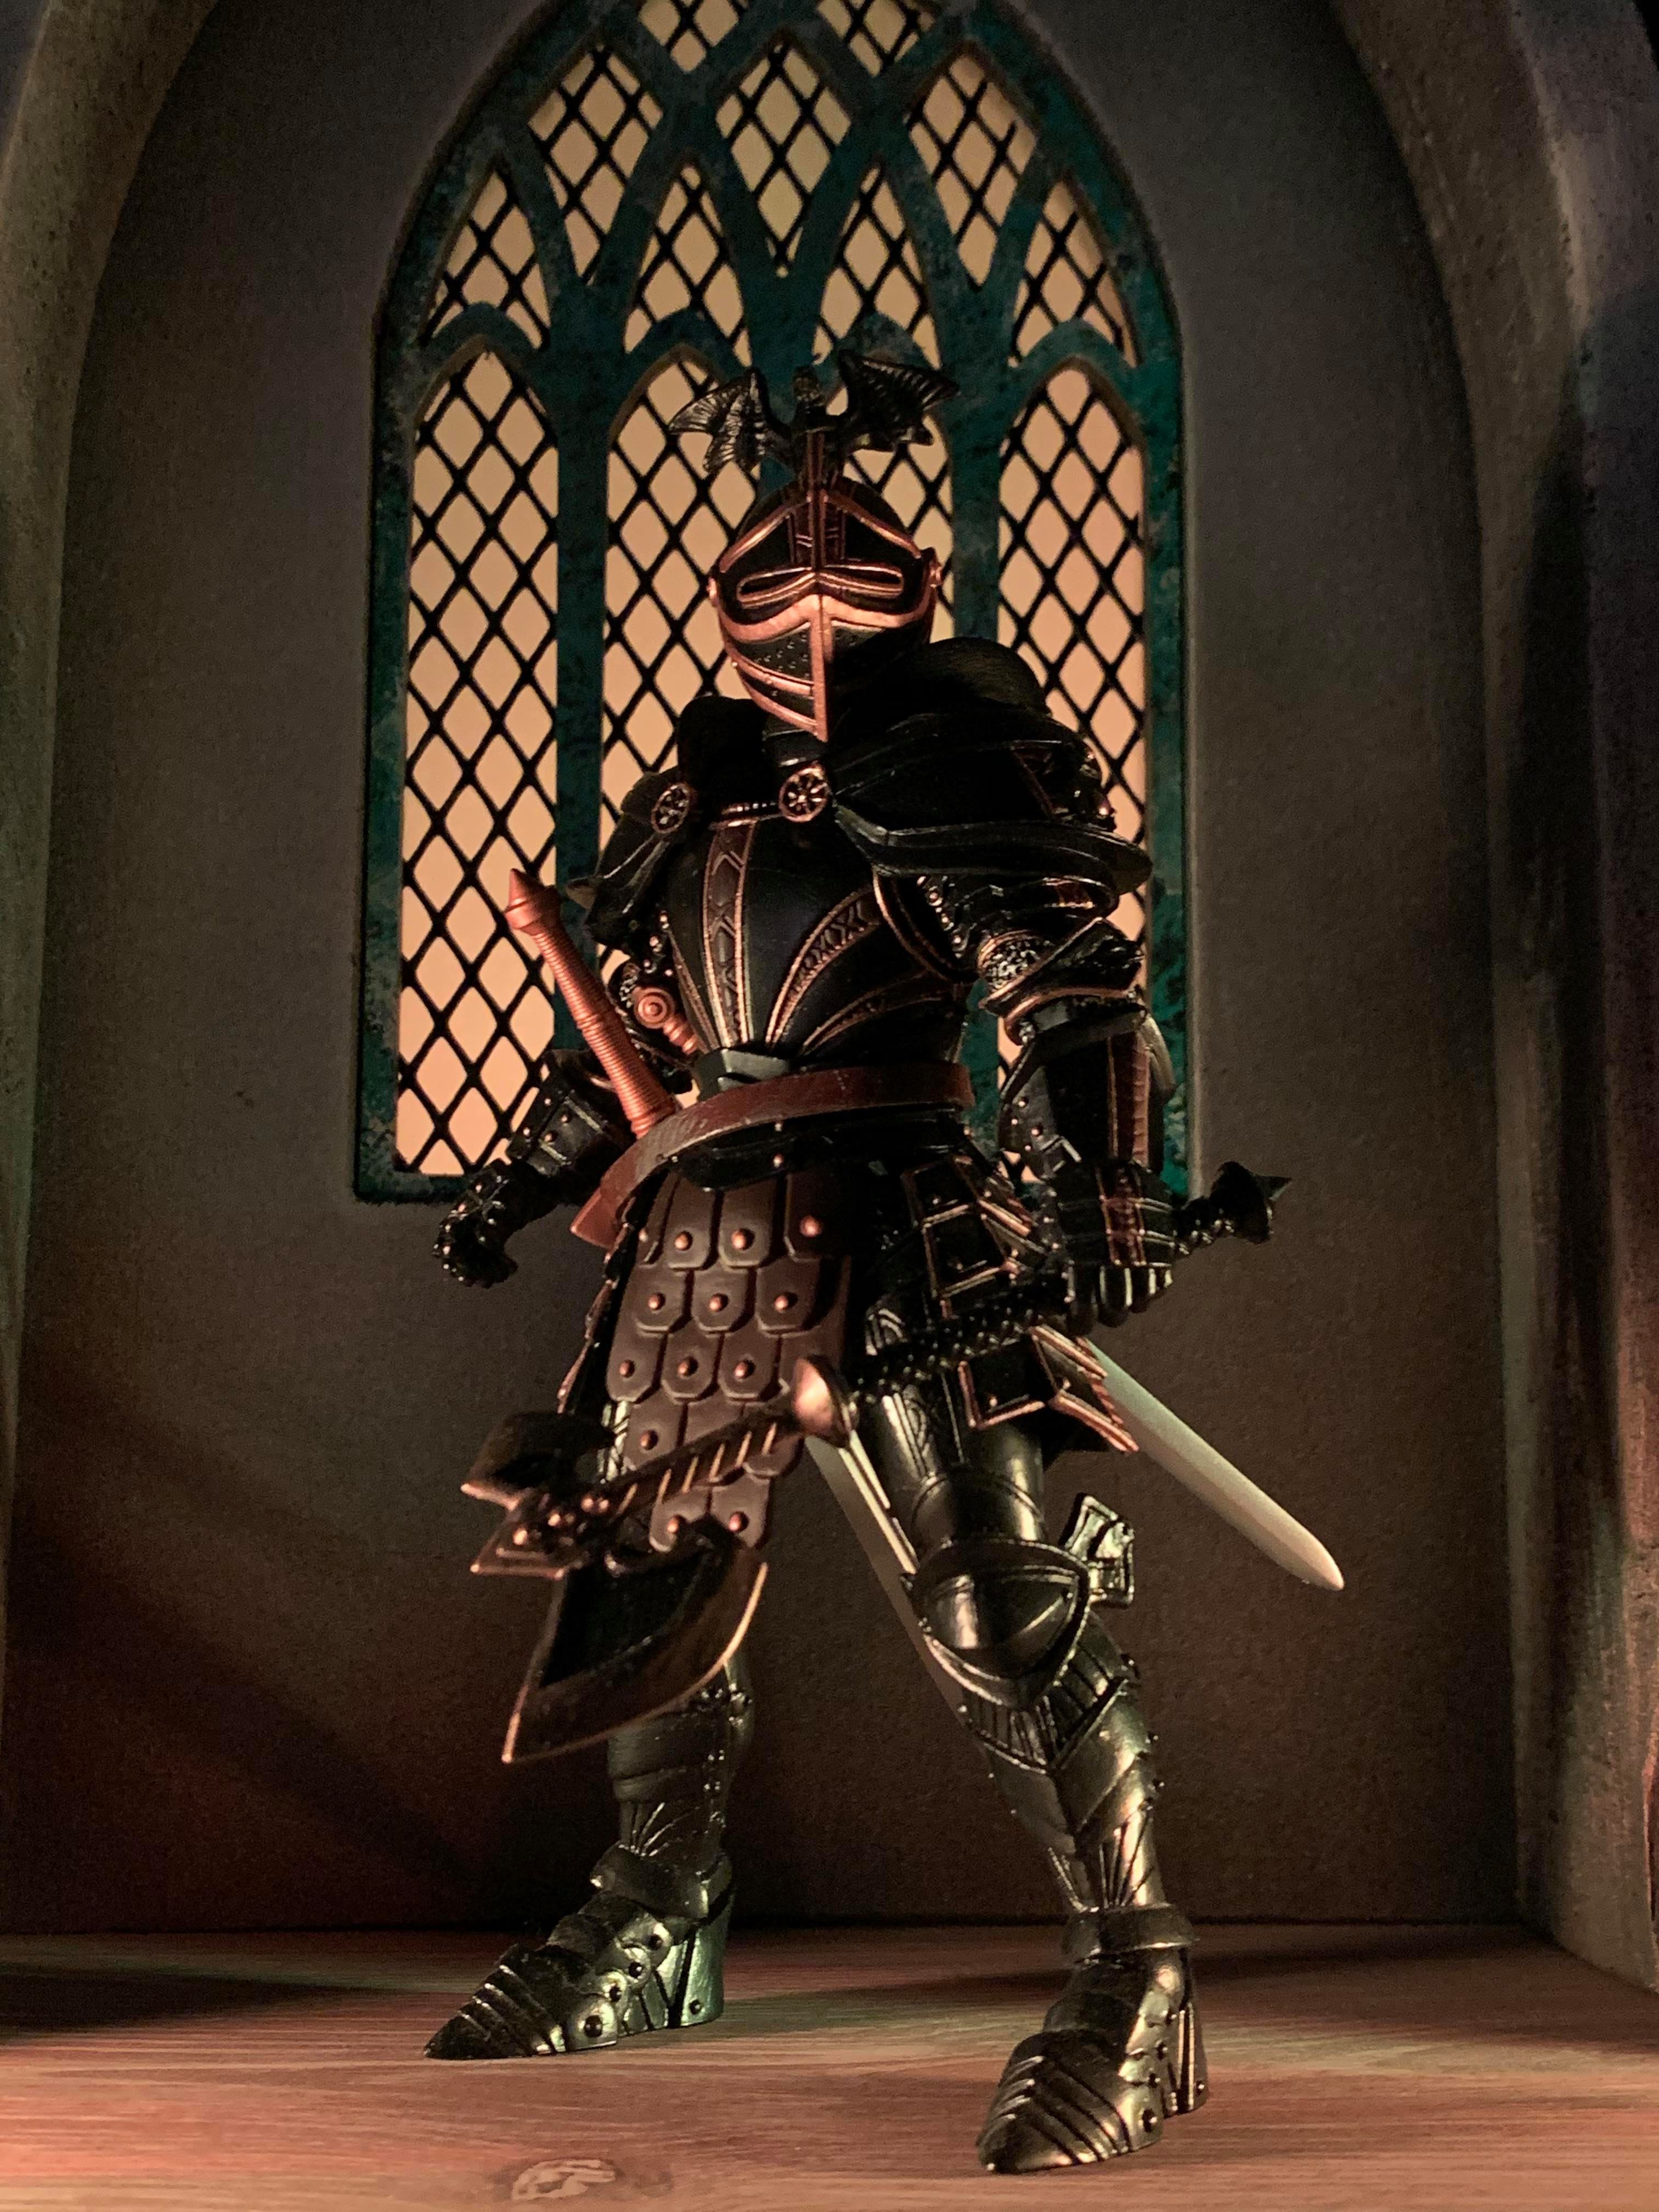
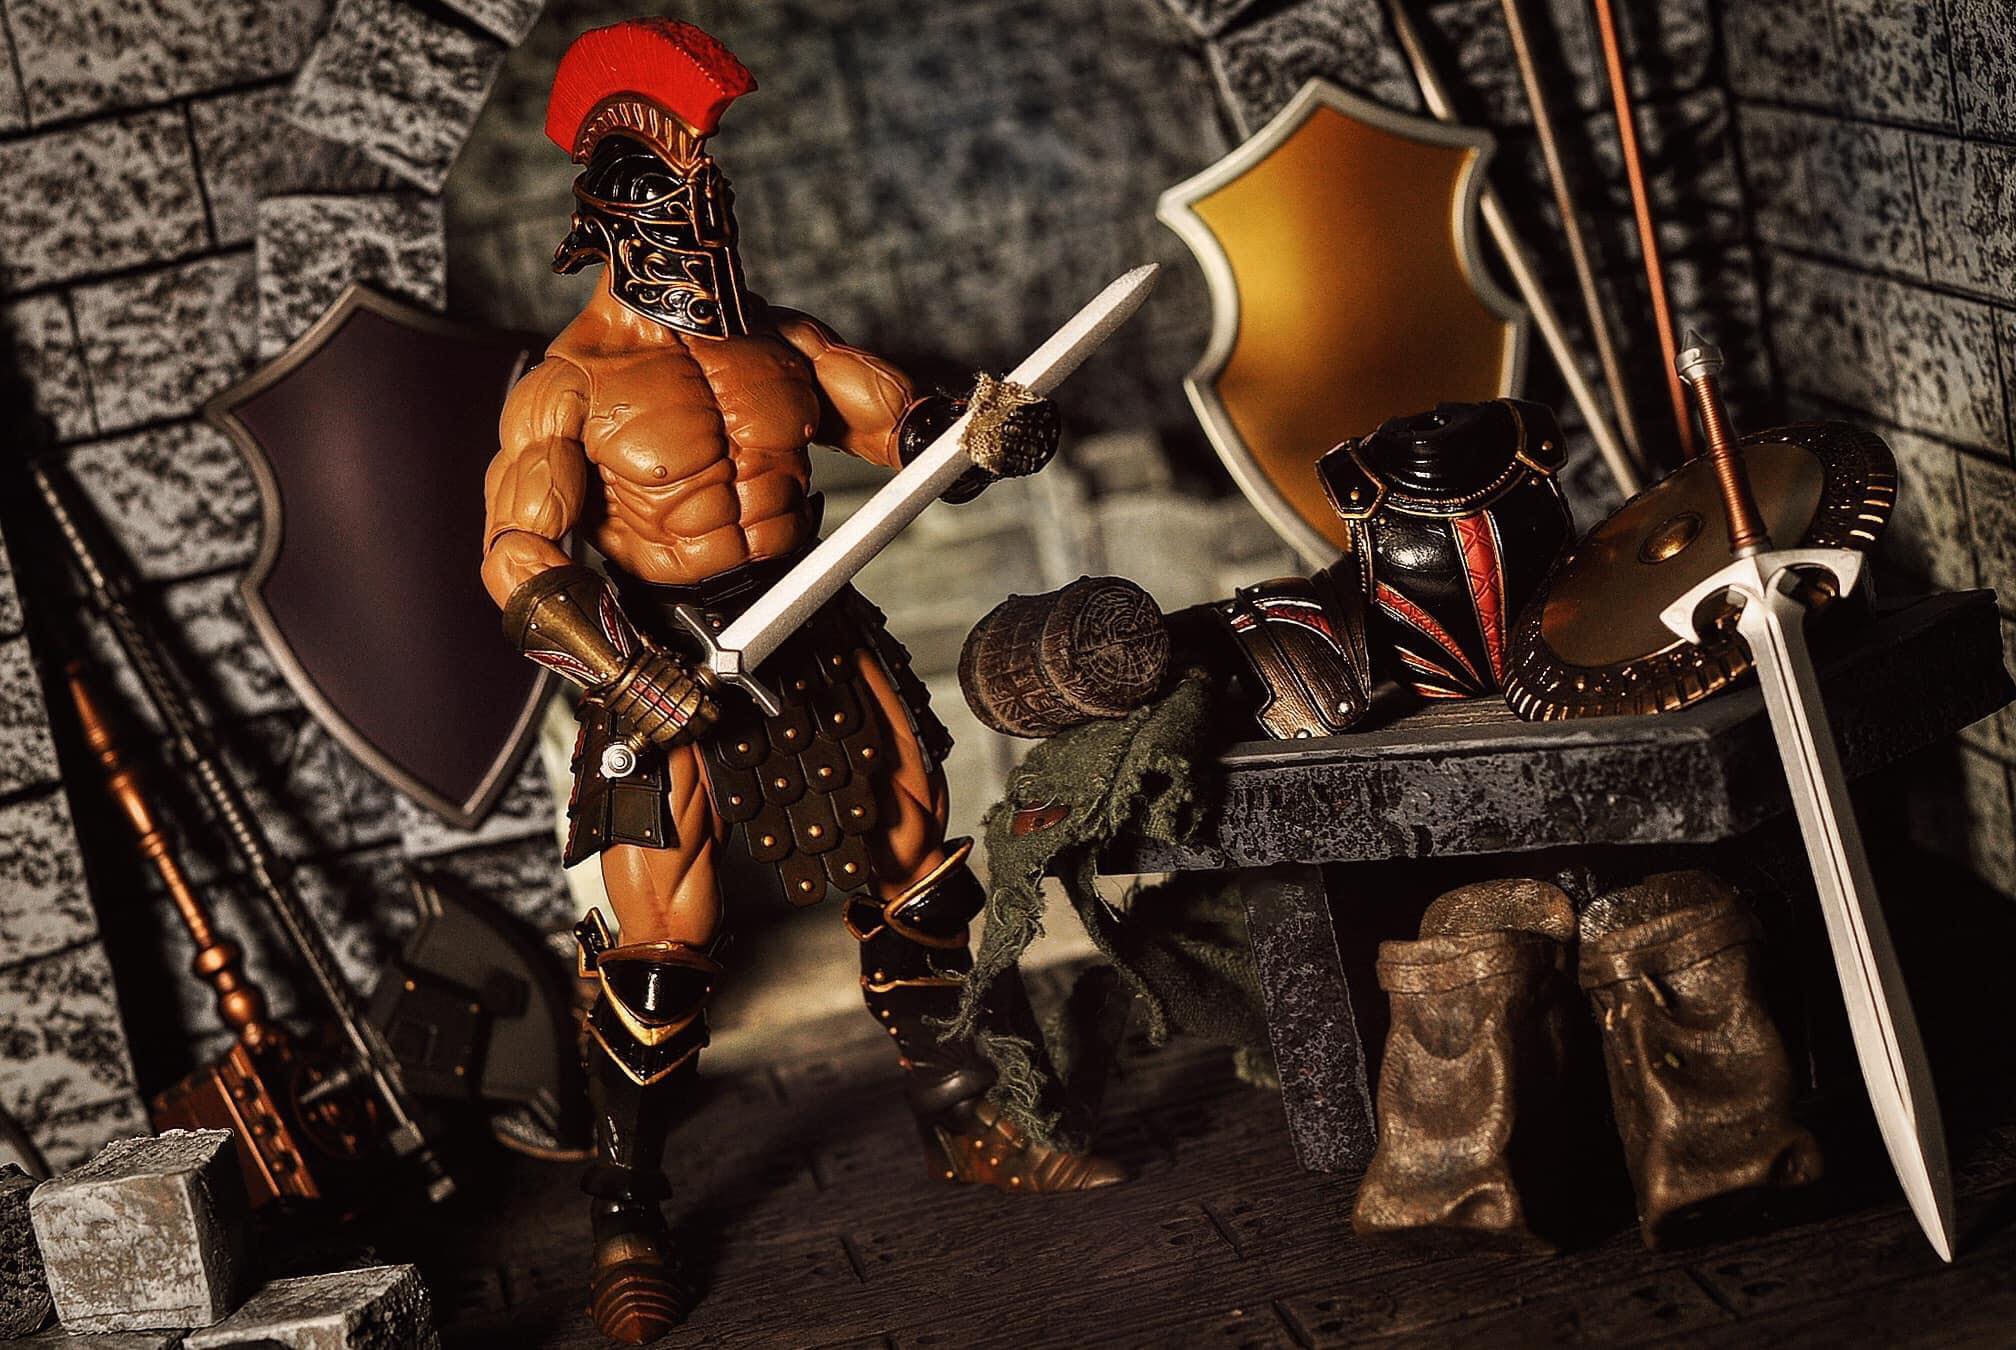
This is a super simple recipe, but as you can see in the photo below, this skeleton Templar looks really cool with just this minimal amount of effort but we’re not done yet! The second picture below shows that "bonus" figure mashed up with a number of other parts to make a cool dark warrior. There is NO custom paint on that figure - only stock Mythic Legions parts. His chest, lower legs/feet, gauntlets, and sword come from the Skeleton Legion Builder we used, while his upper arms, upper legs, and neck are from the Templar. His head is from Kronnaw, his shoulder armor is from a Fury Clan Orc, loin piece is from Boarrior, his shield is from Hagnon, his axe is from Thumpp, his soft goods skirt is from Brother Mandibulus, and the fur under his shoulder armor is from an Ogre Legion Builder. Whew - that is a slew of parts from a variety of figures, but hopefully it effectively demonstrates that you can make some very cool new designs simply by combining Mythic parts in new ways!
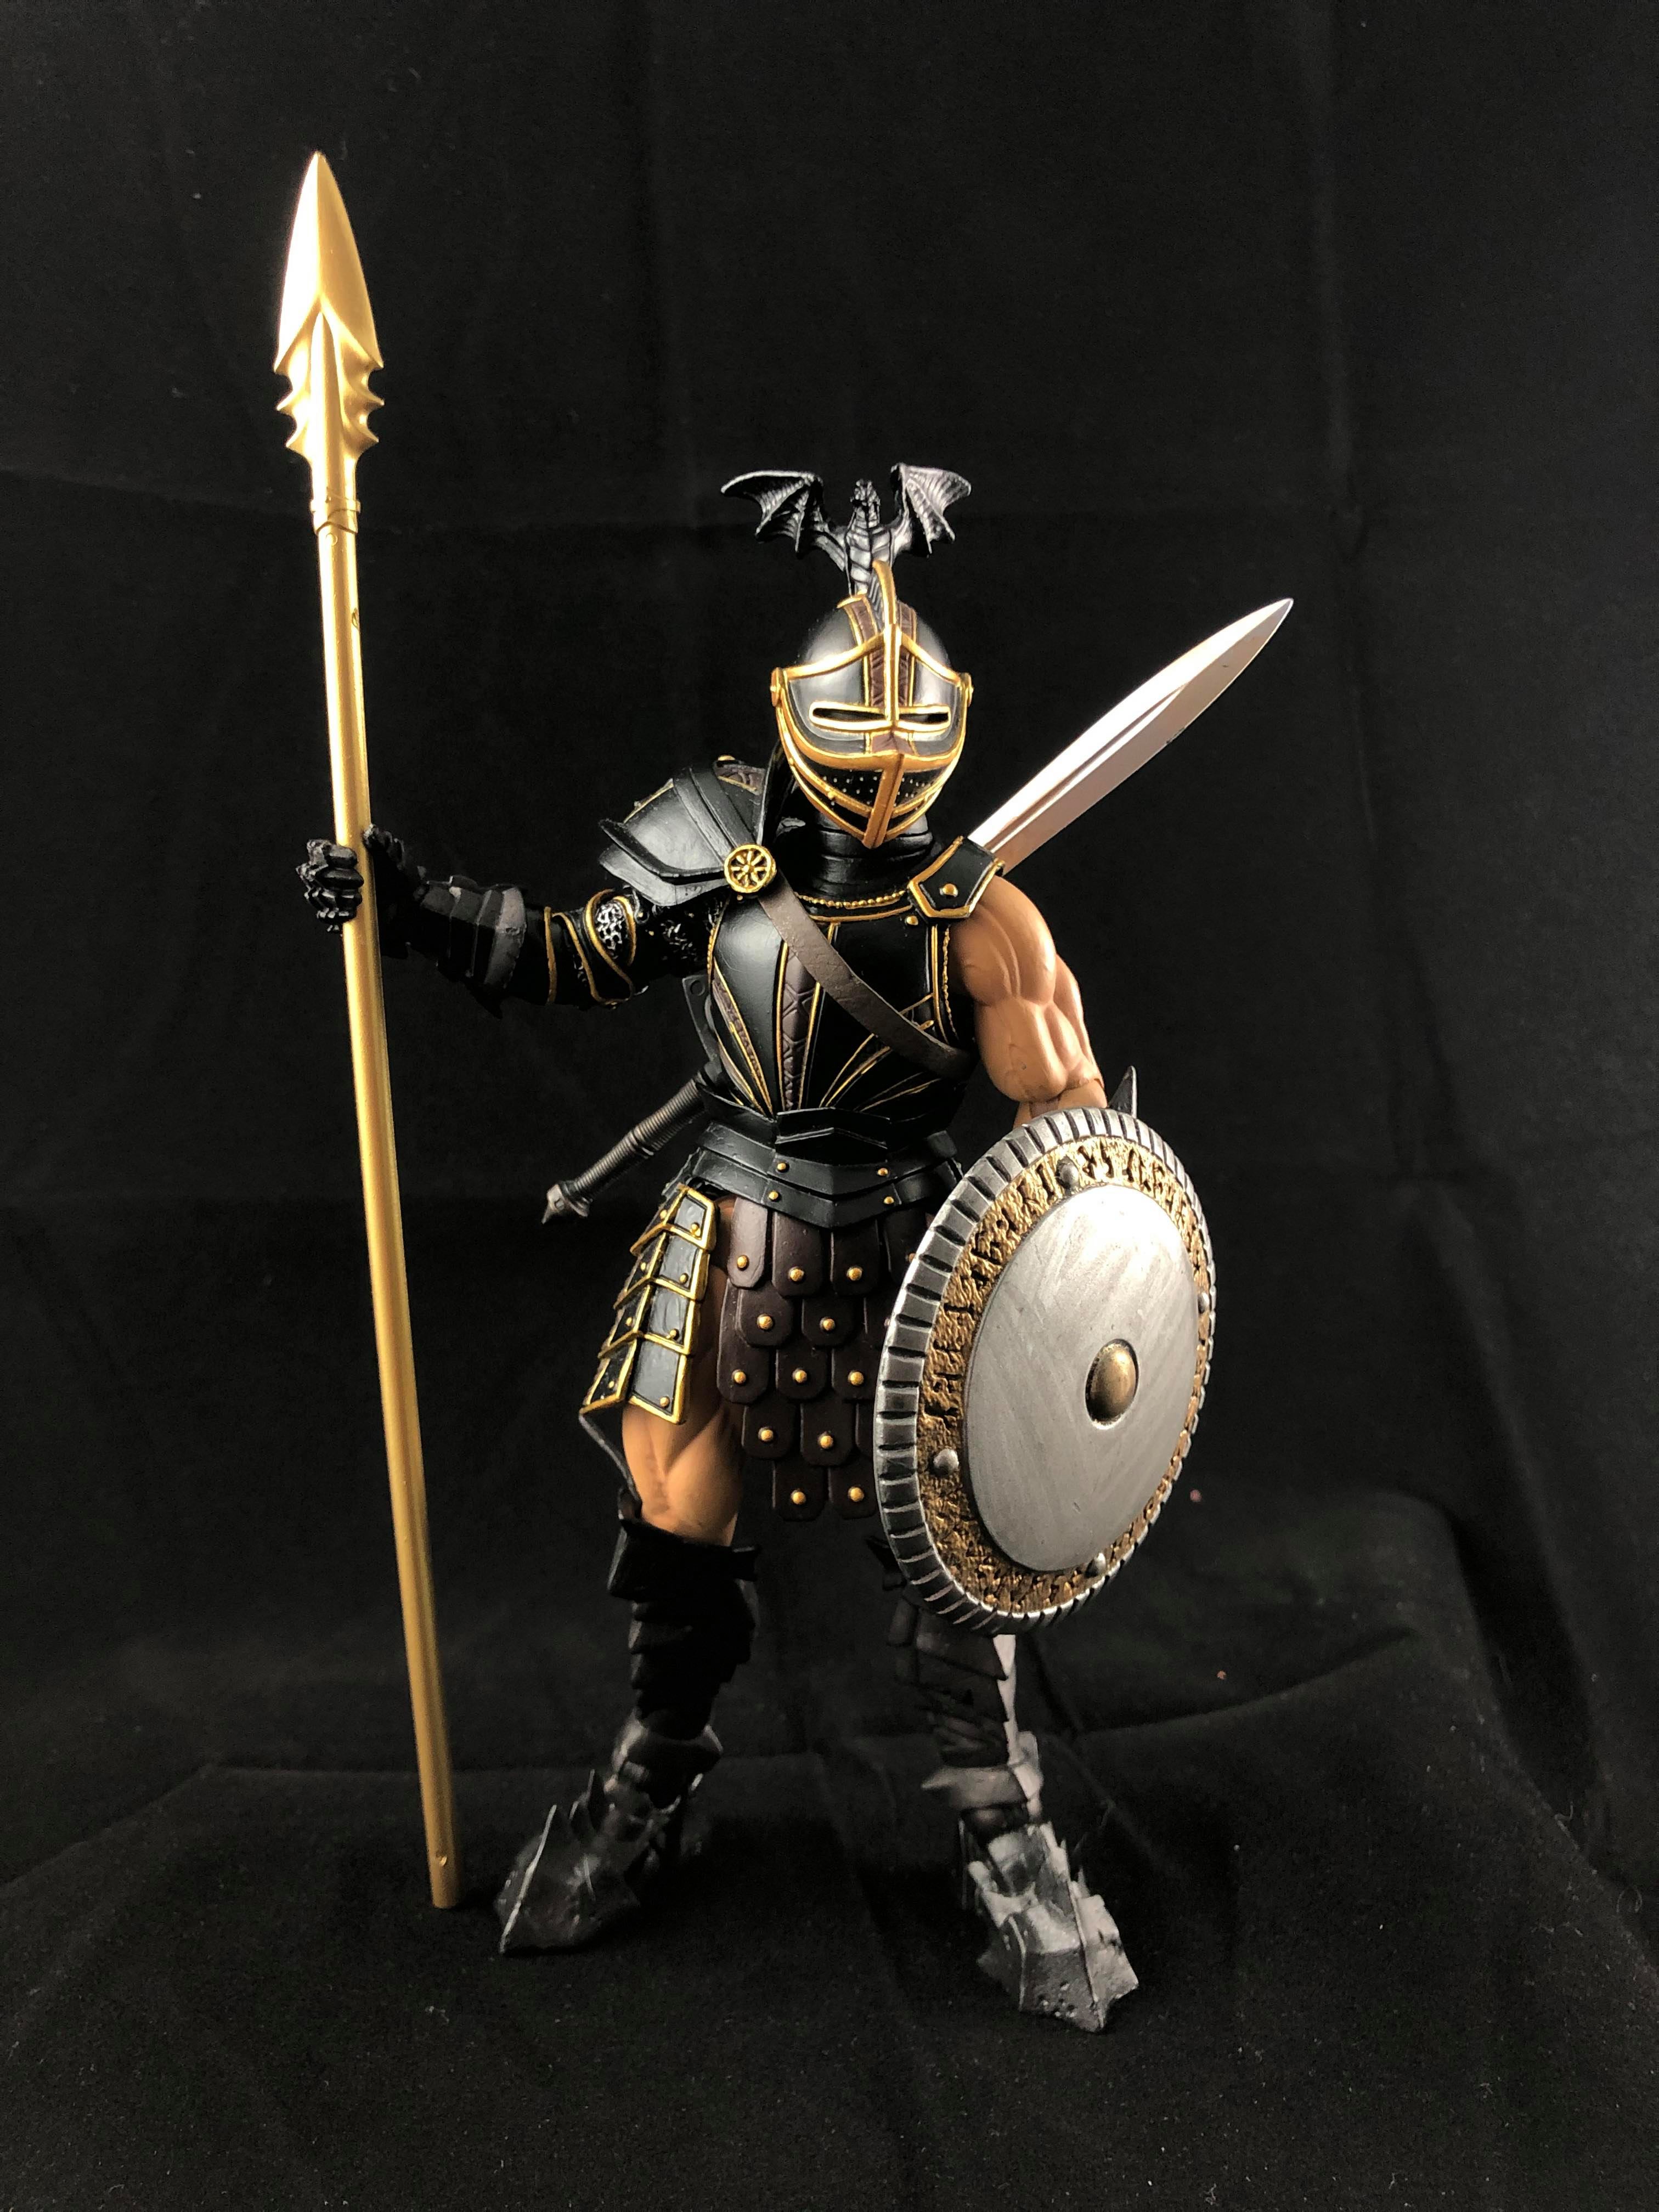
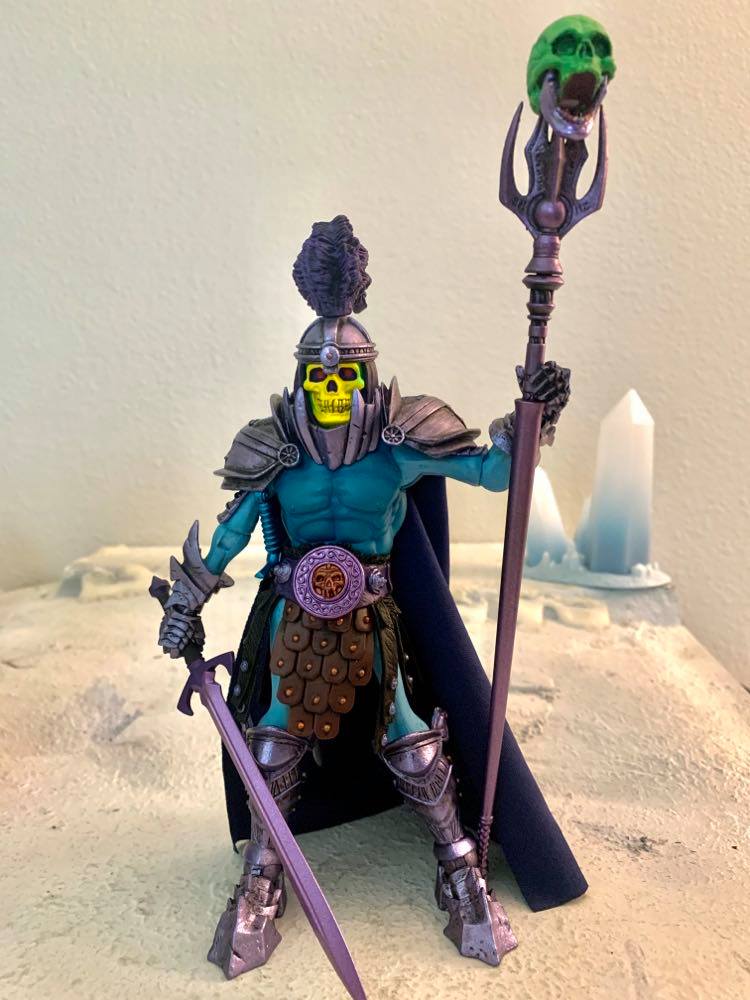
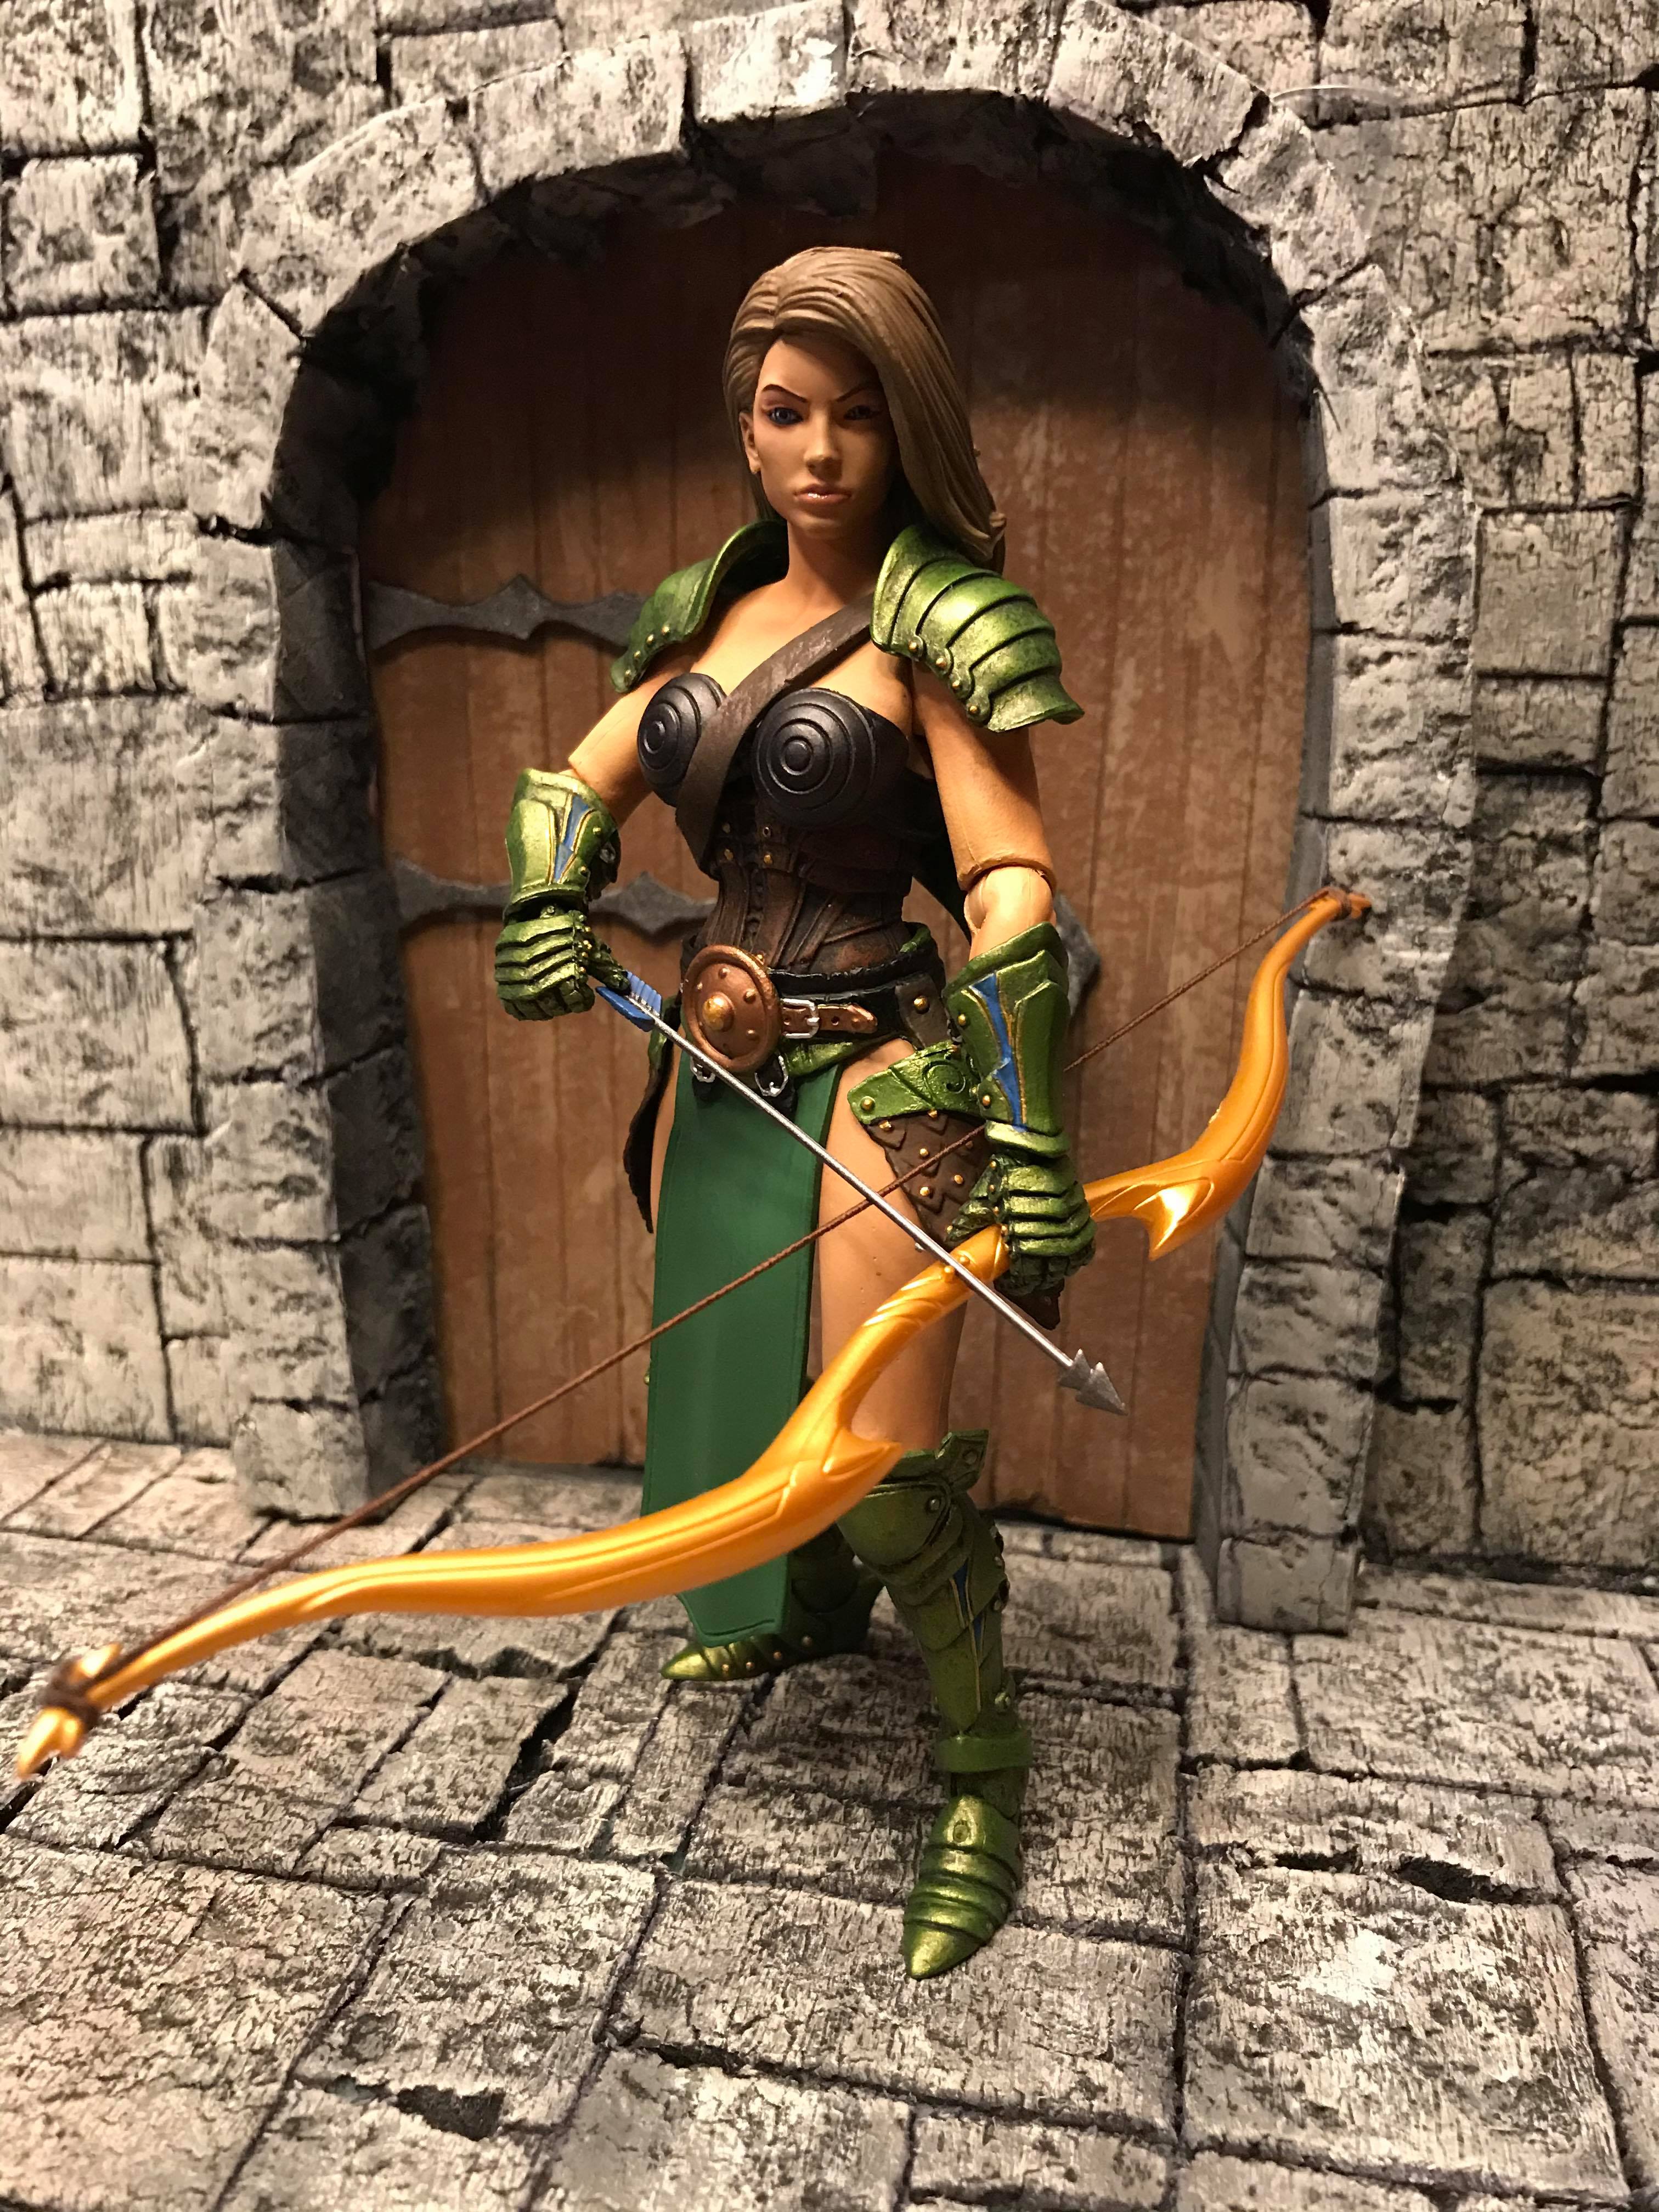
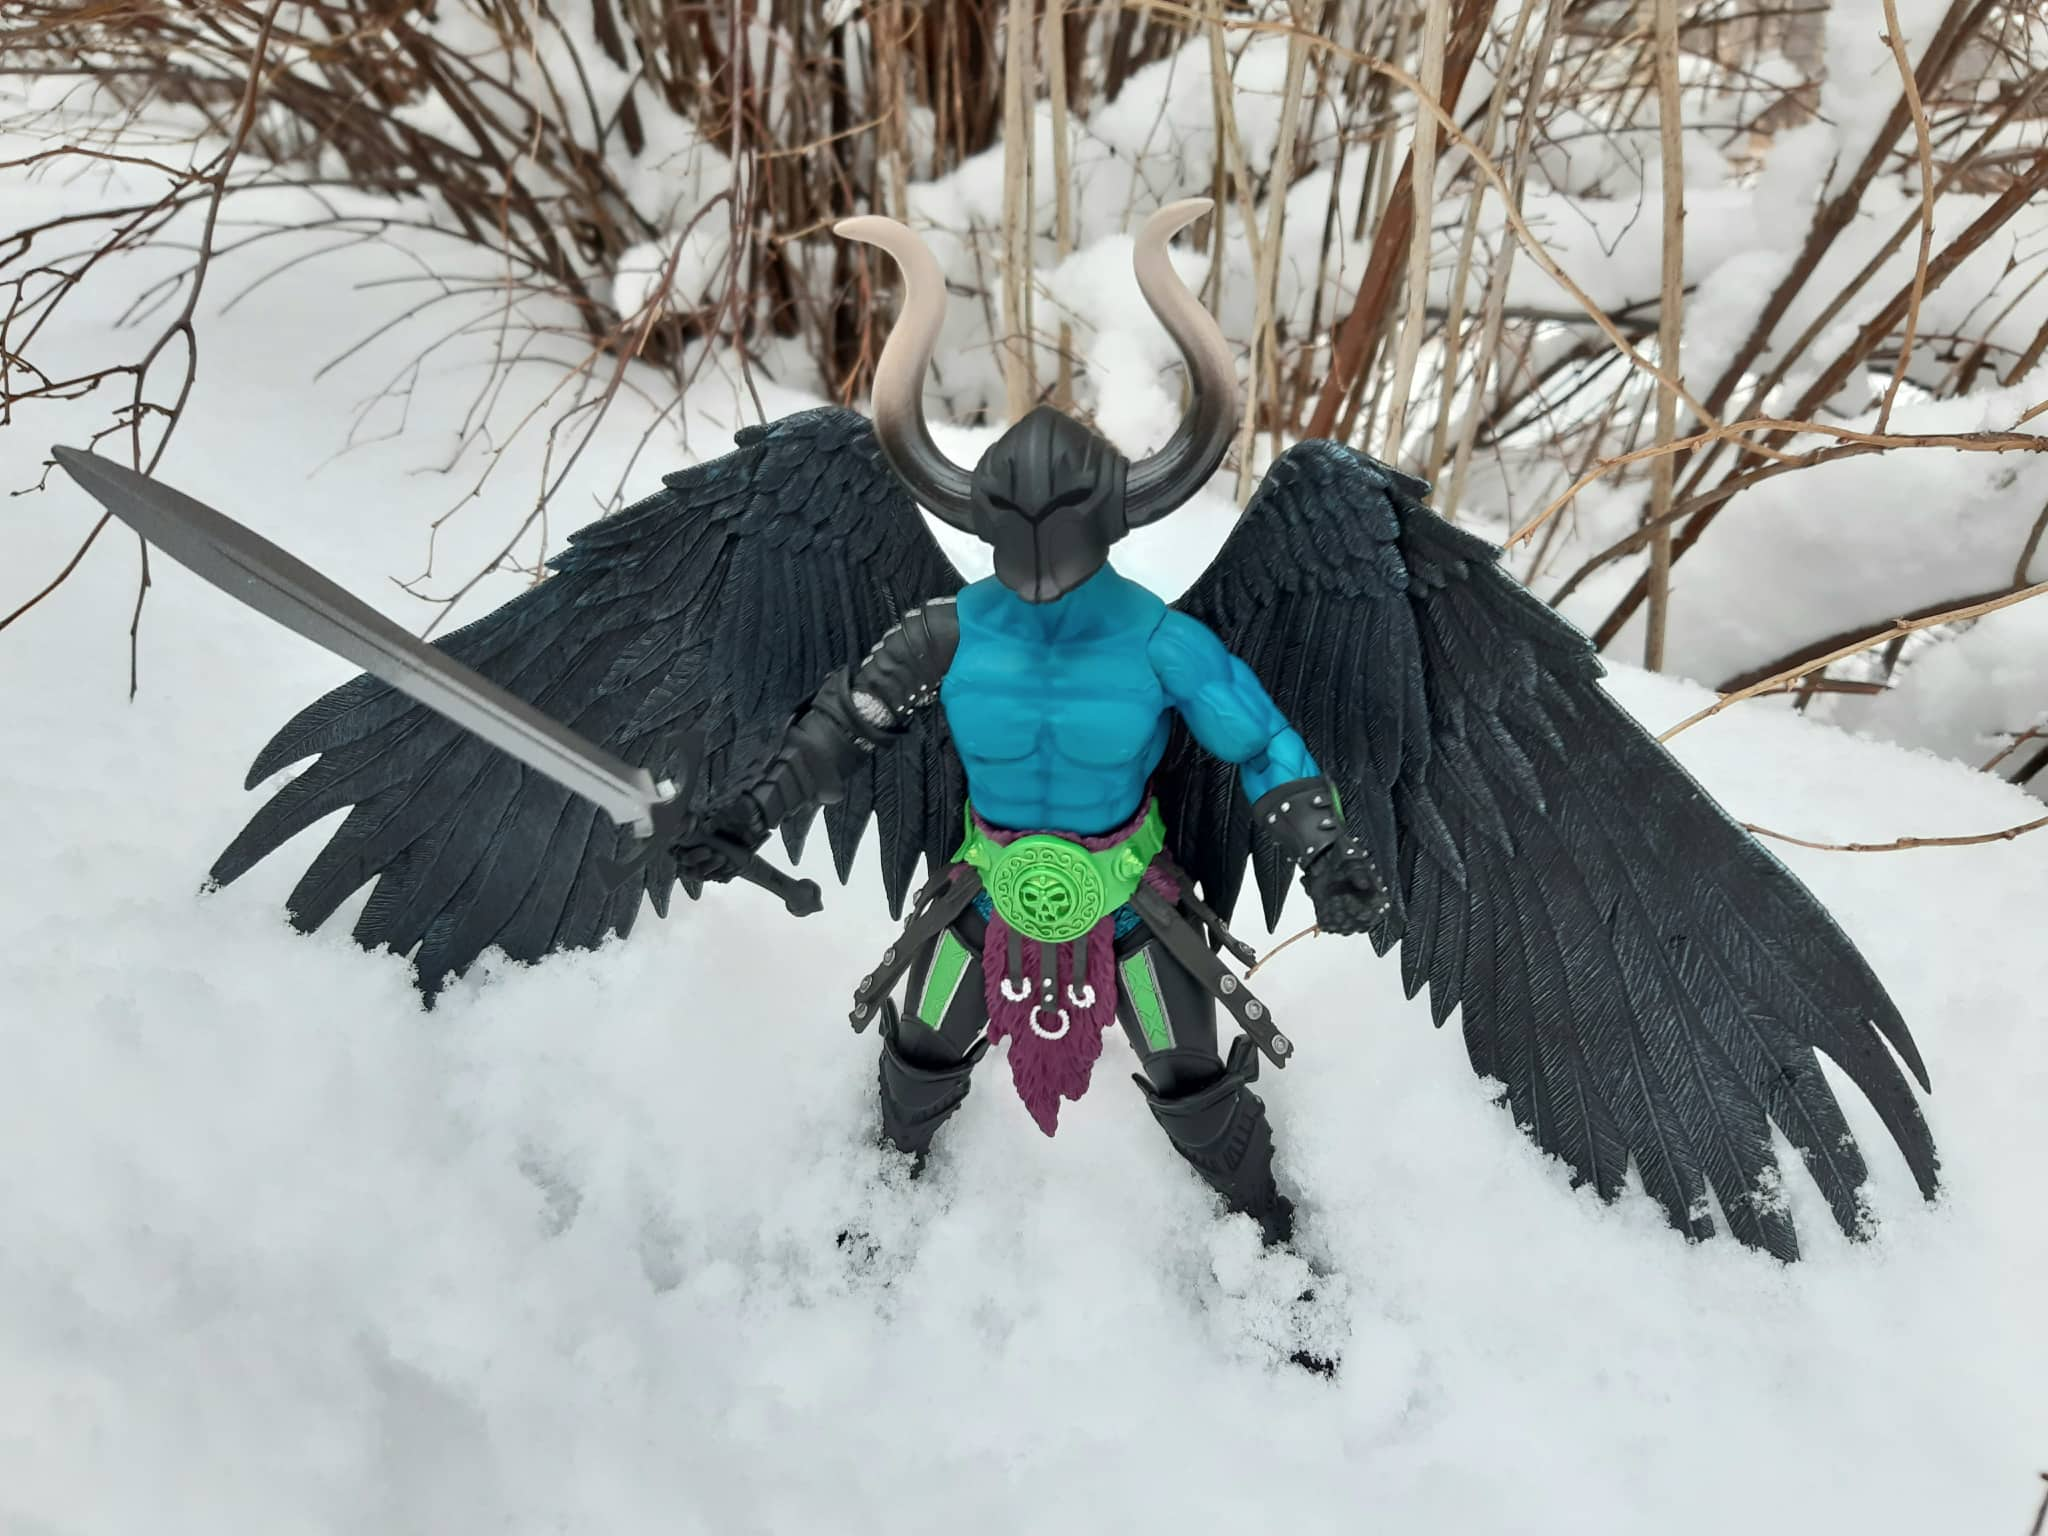
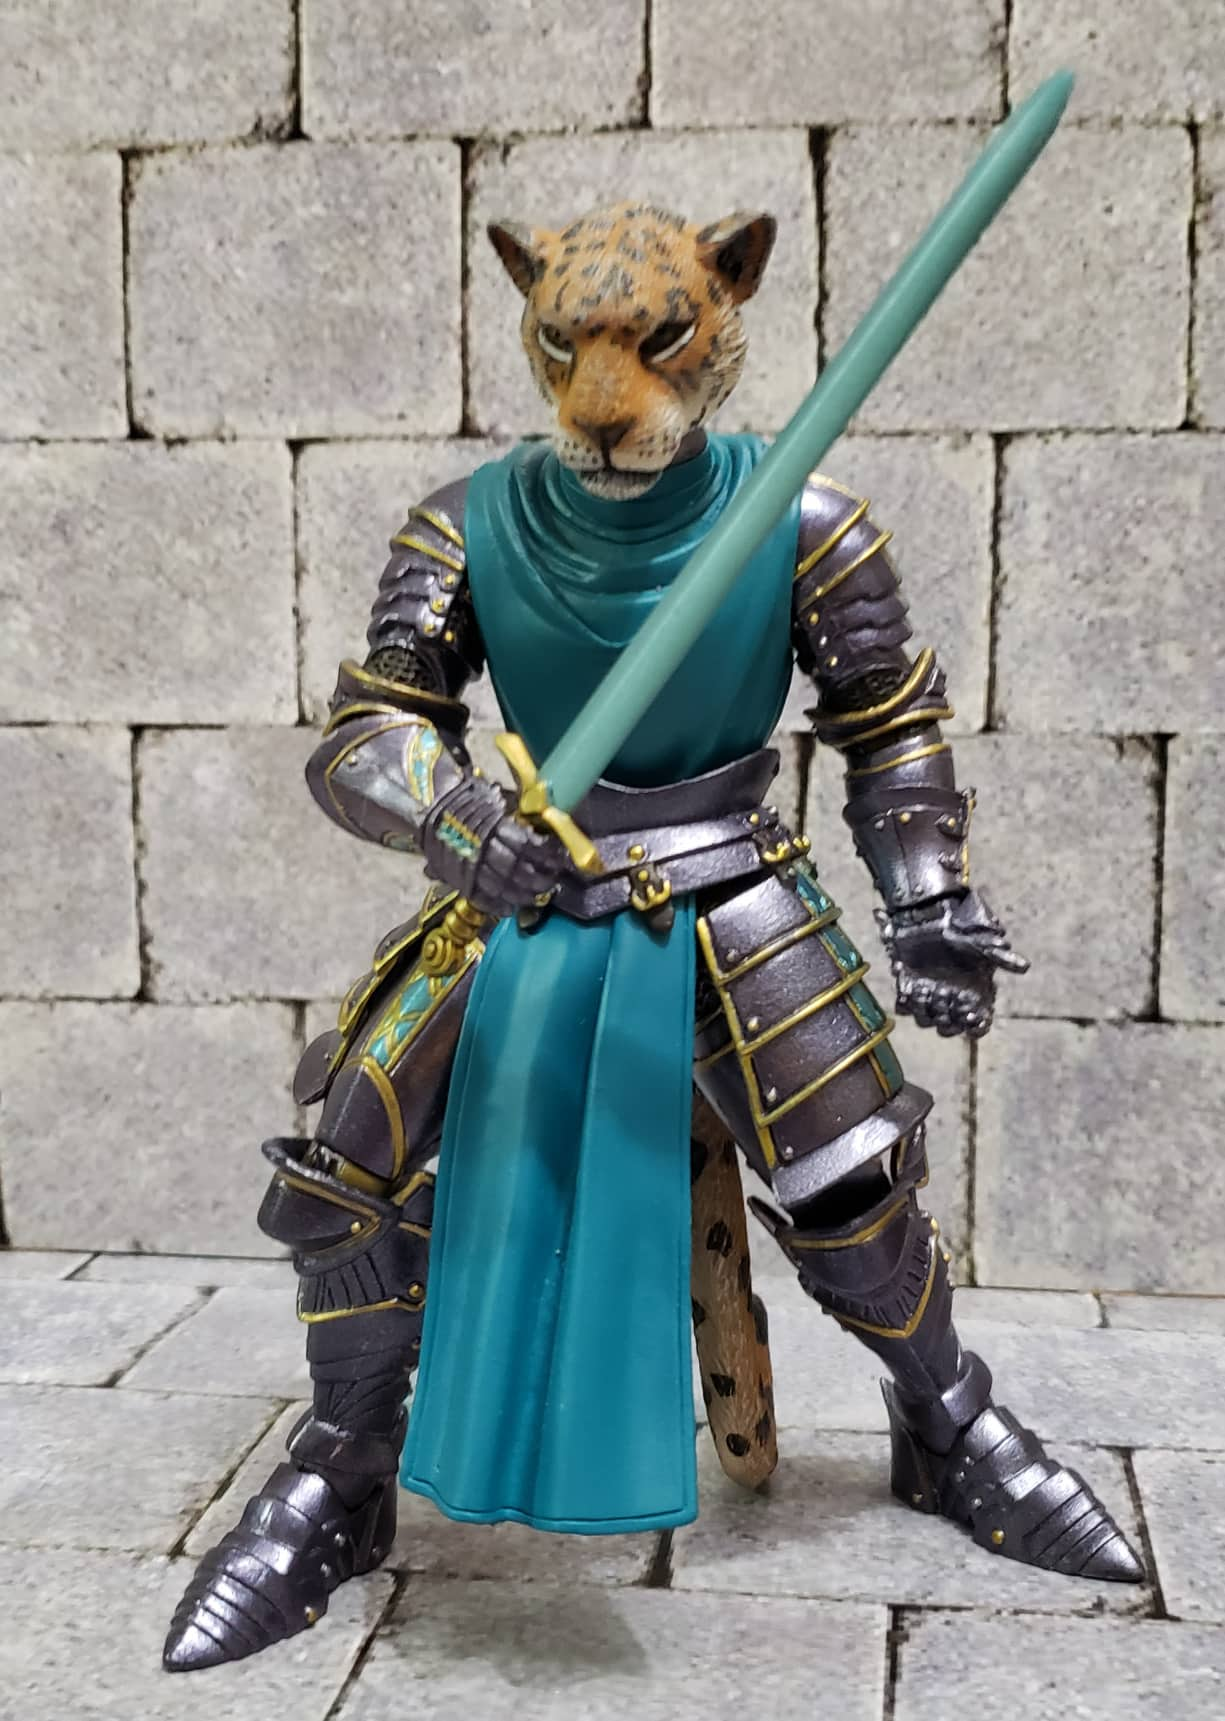
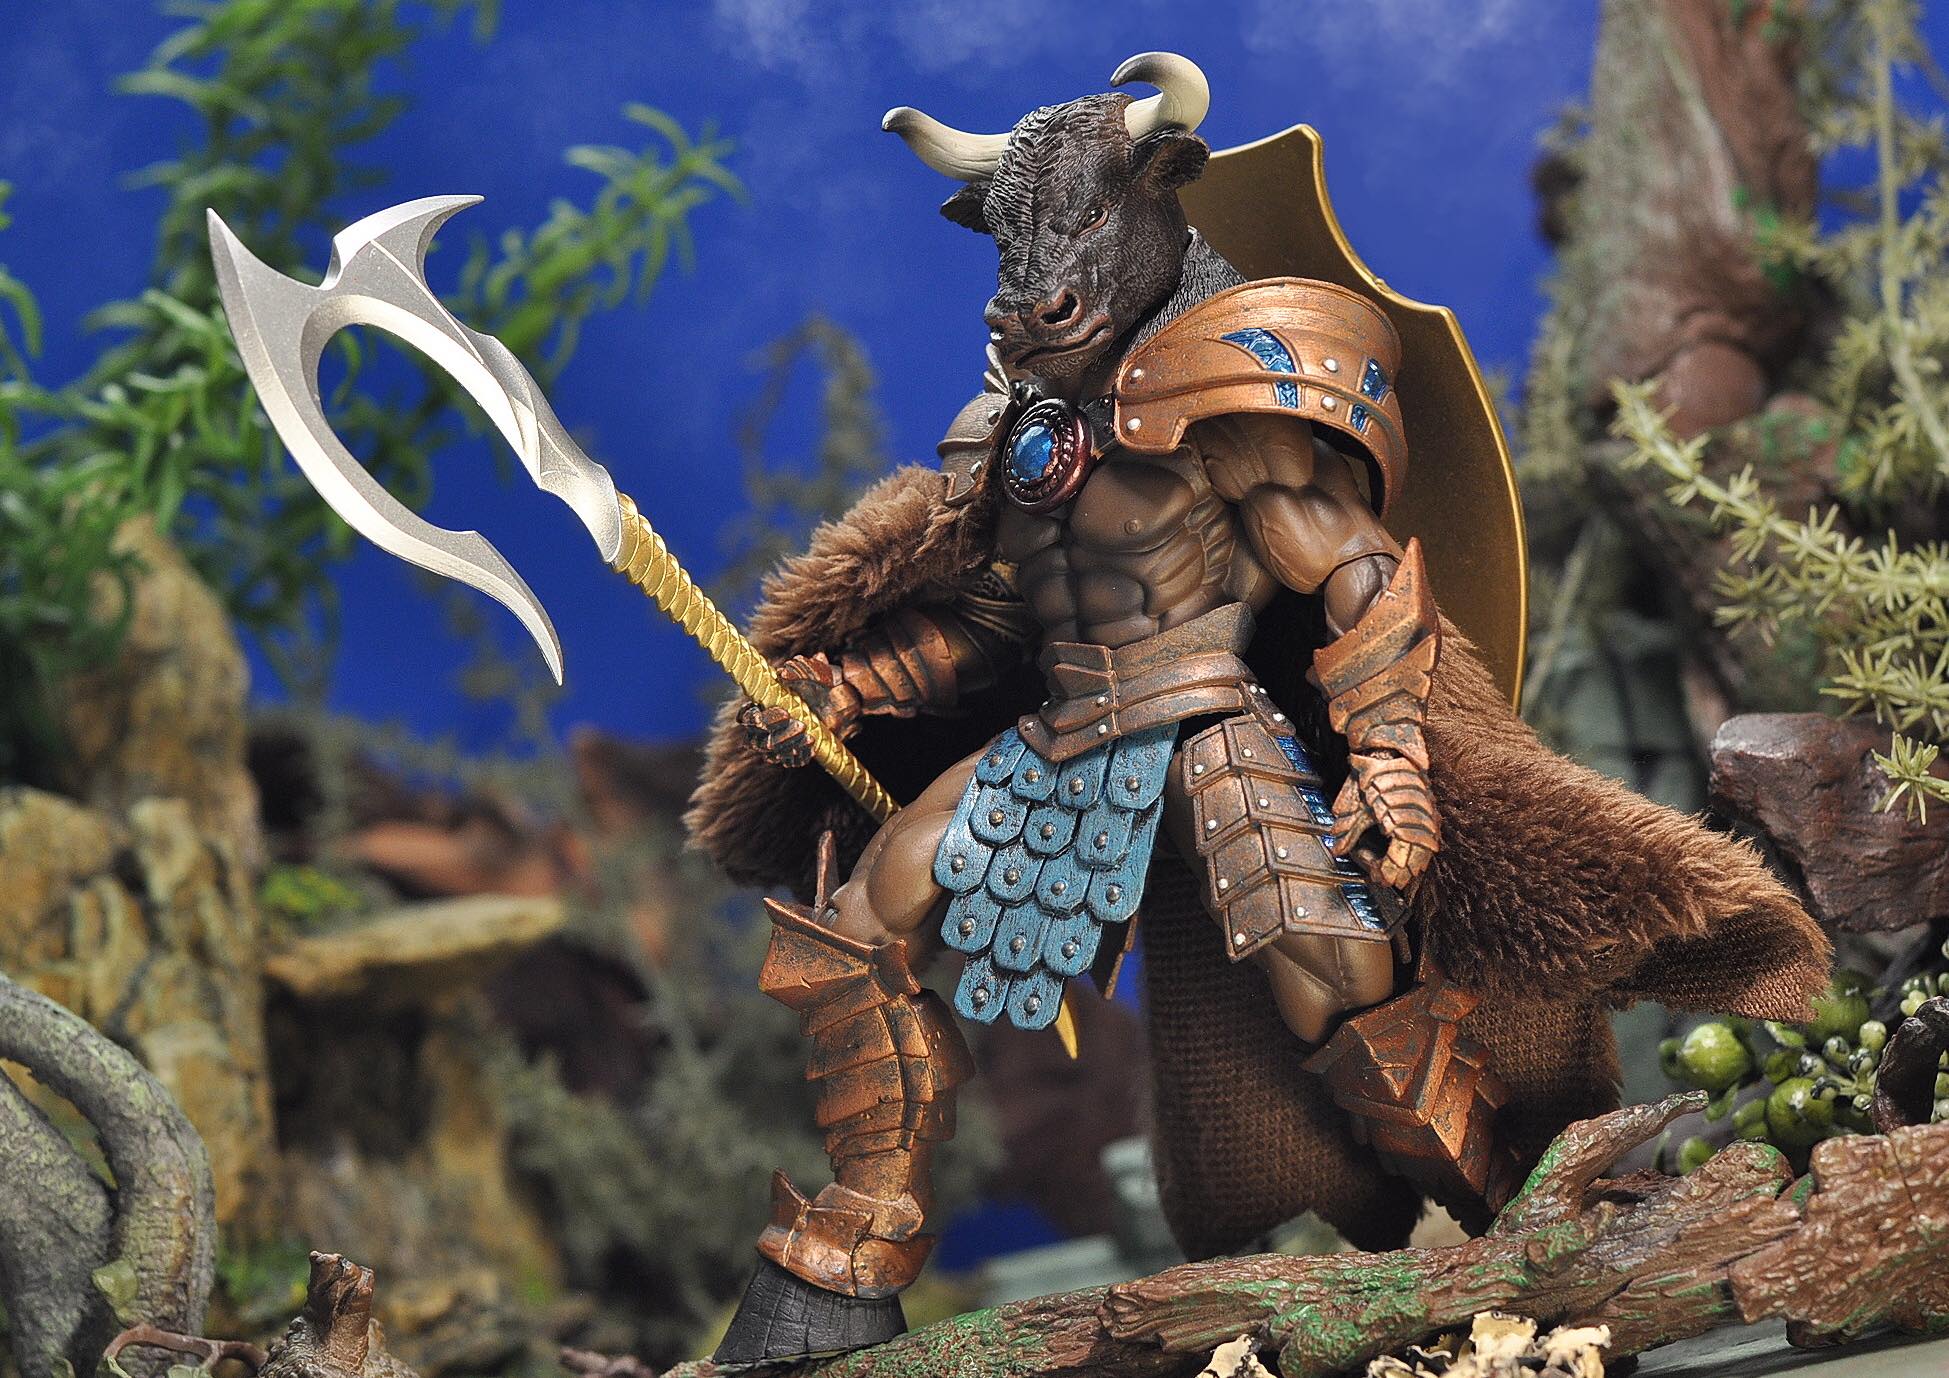
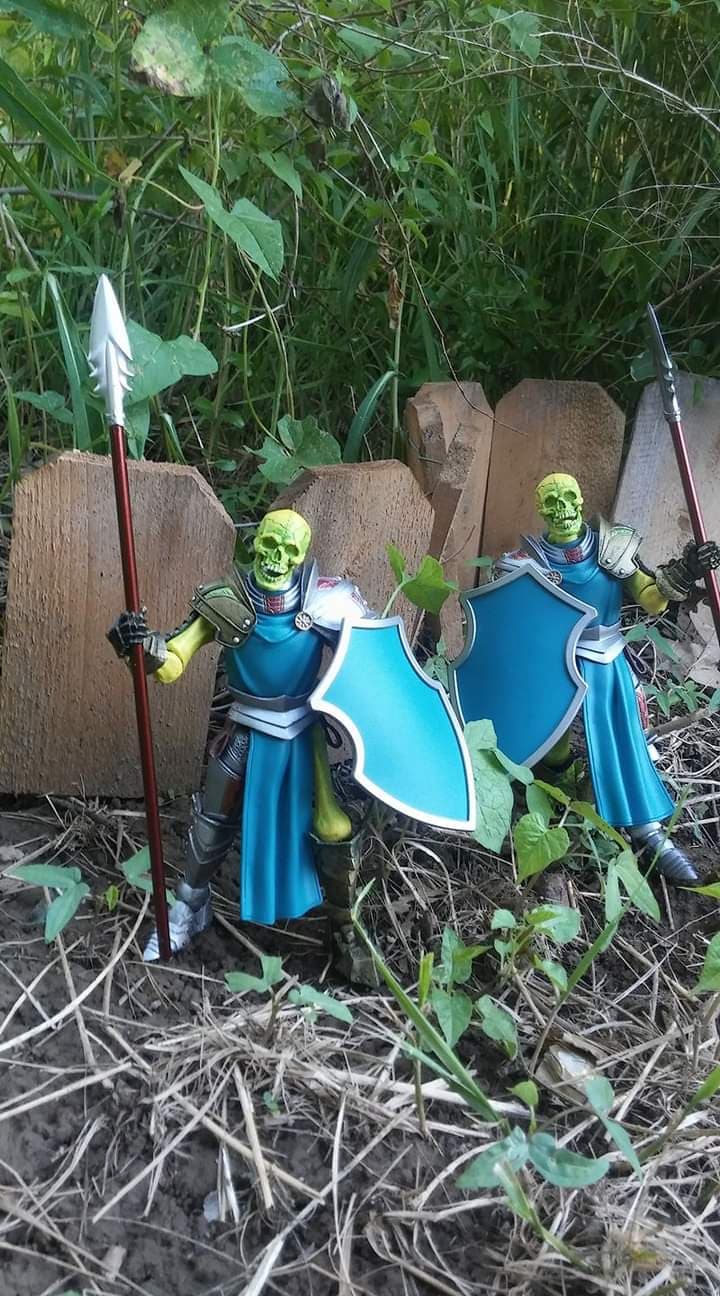
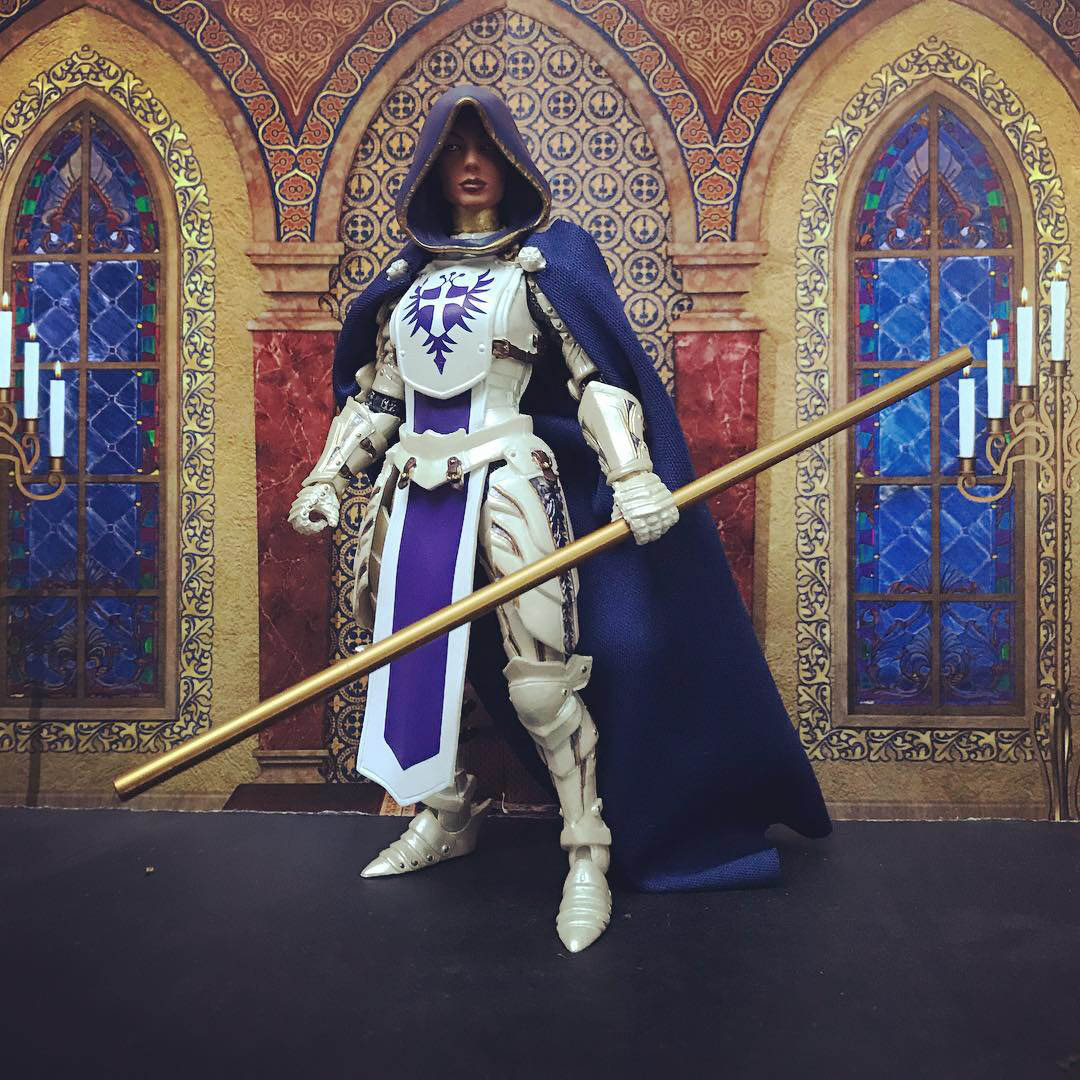
A Gallery of Kitbashes
It is easy to look at the detailed portfolios of many Legions customizers and feel like that type of work is beyond your skills – but the reality is that every one of those customizers started by doing simple swaps before ever adding any new paints or parts. There are also many Legions fans who only do part swaps, but who come up with some awesome and inventive recipes without ever picking up a paintbrush.
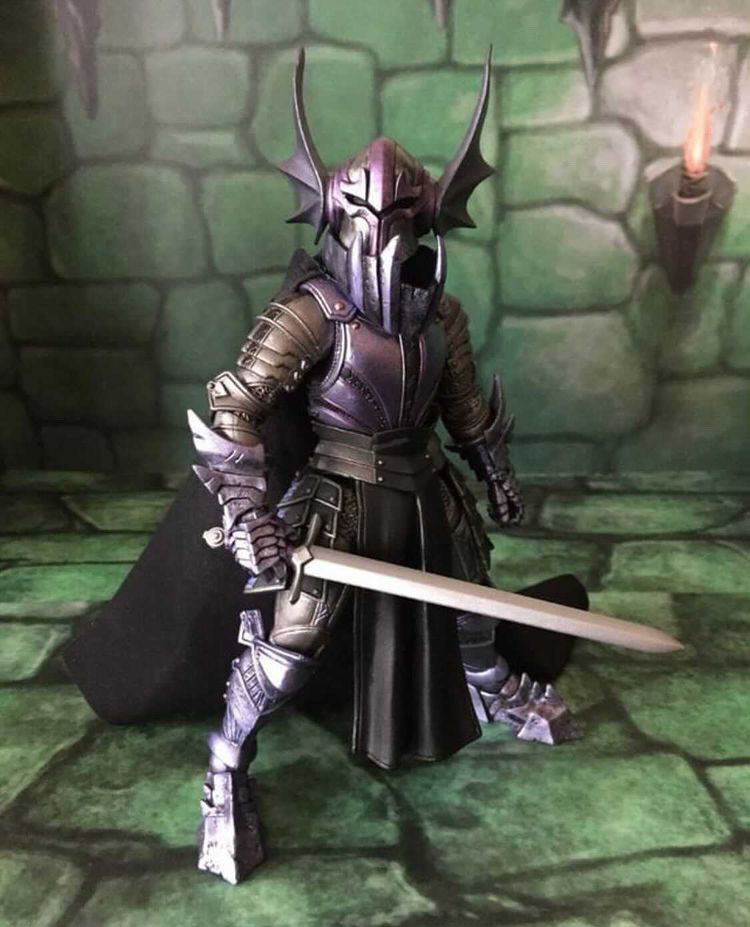
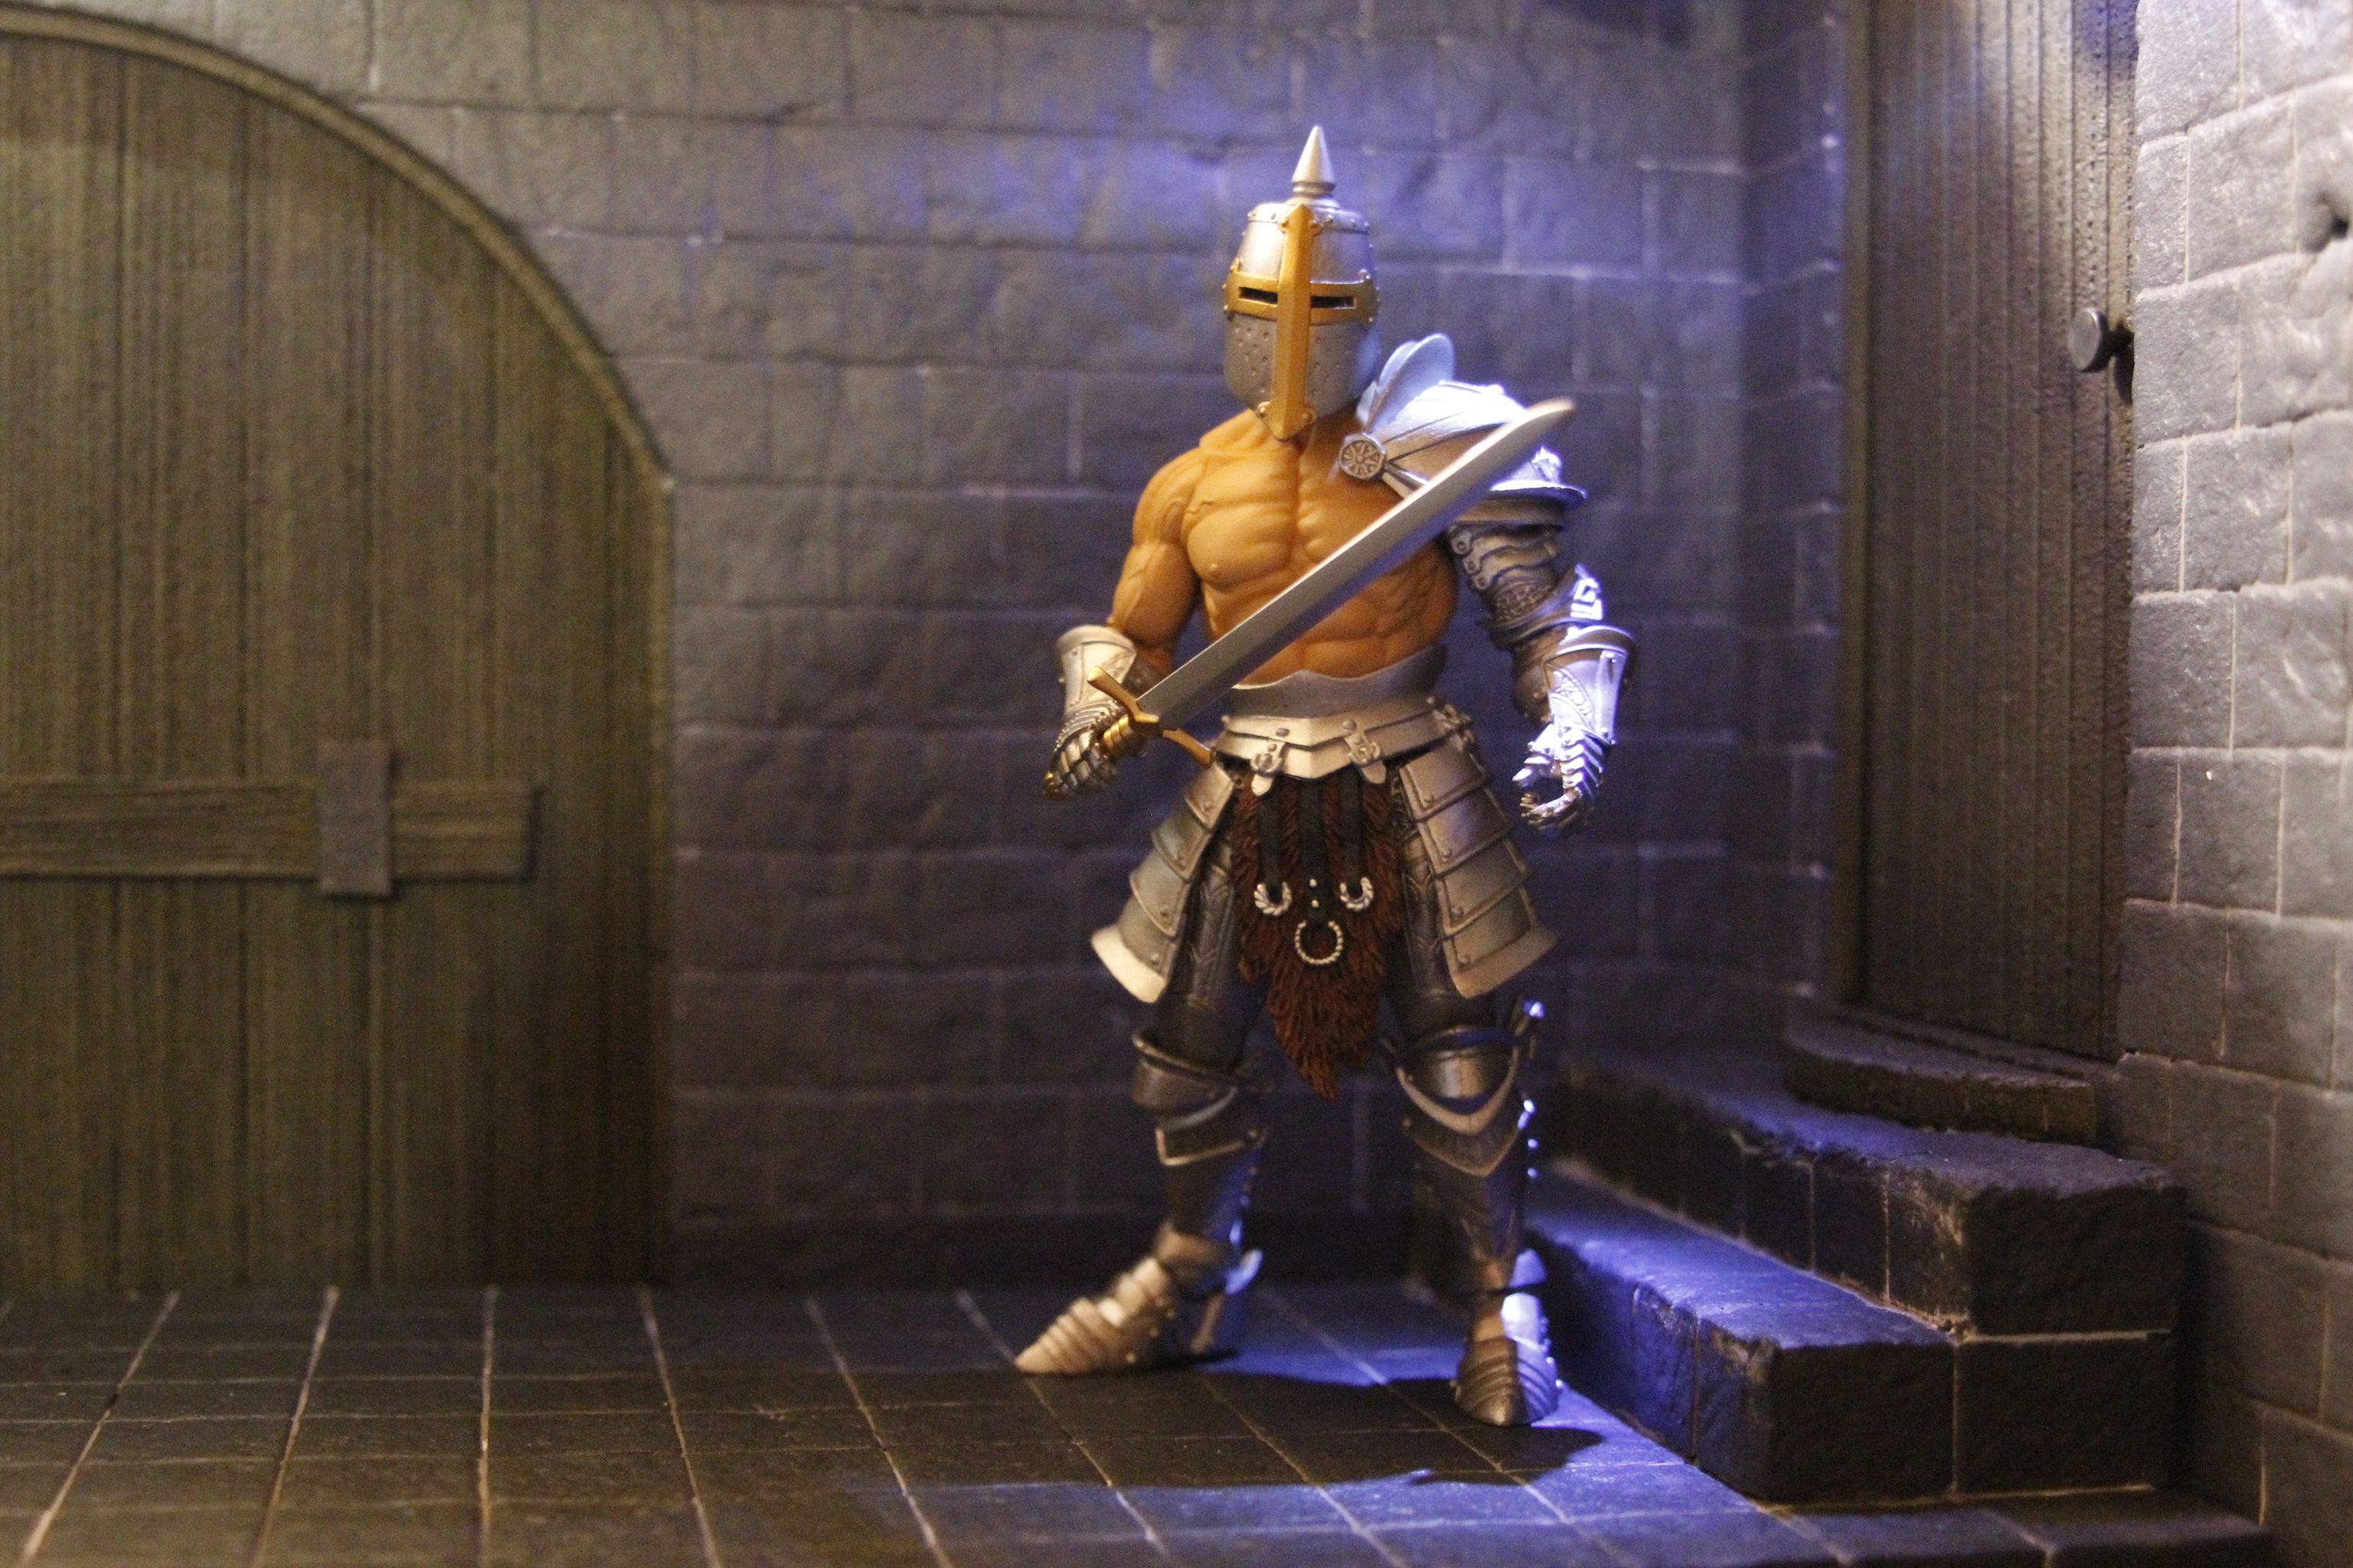
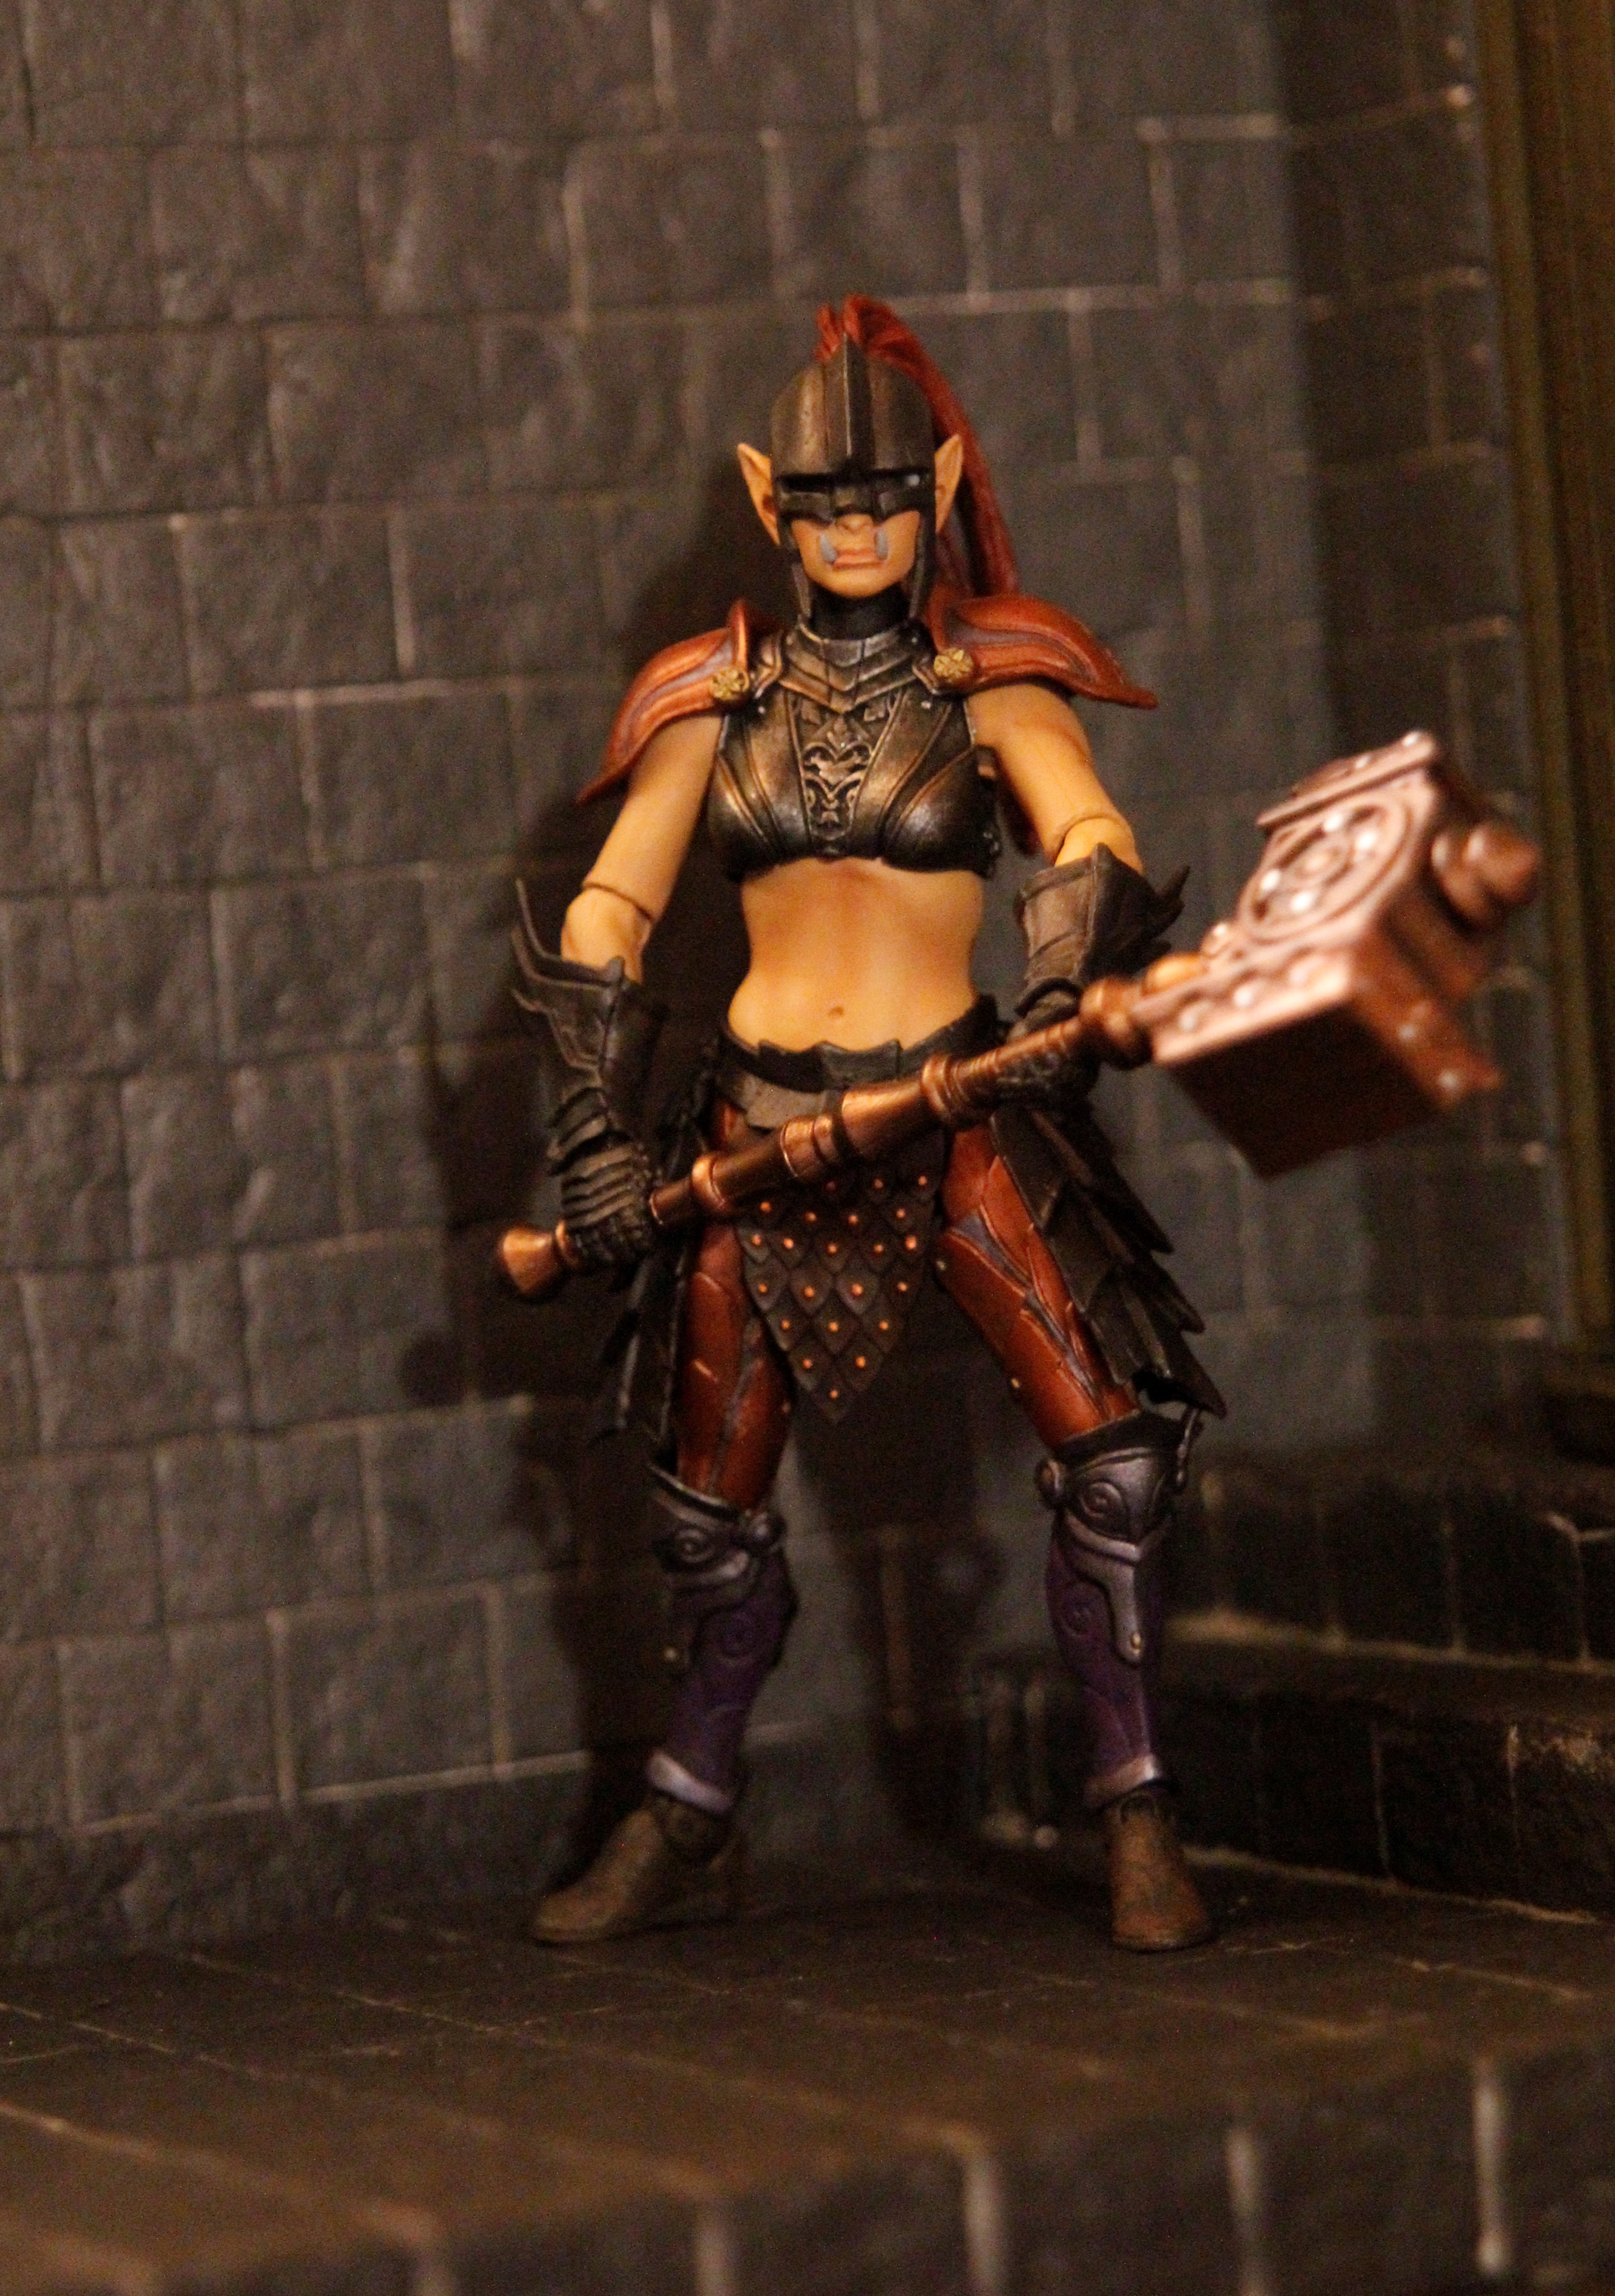
The gallery below shows some “kitbash” figure examples to hopefully inspire you and get you started down this fun customizing rabbit hole! There are submissions included here from many well-known Legions customizers, showing that even the most skilled customizers in this community can still appreciate a simple recipe from time to time!


Published on 03.23.21